
The Malwarebytes service’s CPU usage should be minimal when the program is idle. During a scan, it should stay between 30-50% usage on most systems.
If the CPU usage exceeds these values, your Malwarebytes installation is likely problematic. This could mean misconfigured settings, buggy versions, or antivirus conflicts.
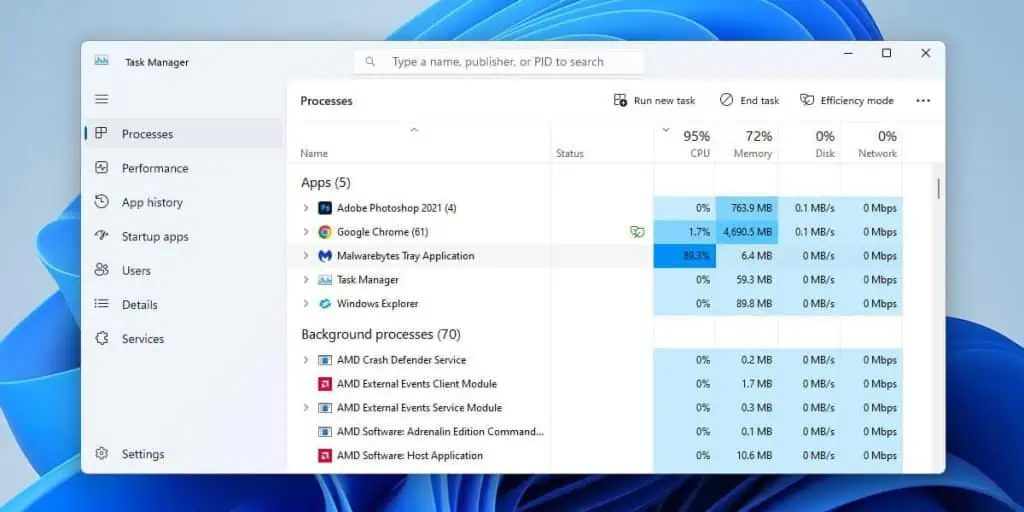
As a band-aid solution, you can end the Malwarebytes Service process via the Task Manager. That should get the CPU usage low enough to let you try the solutions provided below.
Update Malwarebytes
Malformed protection updates can break Malwarebytes and lead to high CPU usage. This has affected a large number of users throughout the years.
In such cases, Malwarebytes releases a patch right away. So, the first thing you should do is check if any updates are available.
- Right-click the Malwarebytes icon and select Check for updates.

- Alternatively, launch Malwarebytes and click on the Settings cog.
- Click on Check for updates from the General or About tab.
- If an update is available, follow the on-screen instructions to install it.


Resolve Antivirus Conflict
If you’re using an antivirus alongside Malwarebytes, the antivirus may be falsely flagging Malwarebytes as a threat.
This conflict could be the reason for the high CPU usage. So, try adding Malwarebytes to the antivirus exclusion list like so:
- Launch the Antivirus and open Settings.
- Look for the Manage Exclusions or similar option and press Add.
- Add the following folders to the exclusion list:
C:\Program Files\MalwarebytesC:\ProgramData\Malwarebytes
- If the CPU usage issue persists, add the following items as well:
C:\Windows\System32\drivers\mwac.sysC:\Windows\System32\drivers\mbamswissarmy.sysC:\Windows\System32\drivers\mbamchameleon.sysC:\Windows\System32\drivers\farflt.sysC:\Windows\System32\drivers\mbae64.sysC:\Windows\System32\drivers\mbae.sys


In some cases, the exclusion list won’t do much. Instead, you’ll have to remove the antivirus.
- Press Win + R, type
appwiz.cpland press Enter. - Select the antivirus from the list, press Remove / Uninstall, and follow the on-screen instructions.
- Once it’s uninstalled, restart your PC.
- If the CPU usage is fixed, consider switching to Windows Defender or a different antivirus.
- But if the CPU usage persists, the problem is likely something else. So, feel free to reinstall the antivirus.

Clean Install Malwarebytes
If your Malwarebytes installation is corrupt, completely removing and clean-installing it can help. You can do this with the Malwarebytes Support Tool.
- Download and install the MB support tool.
- Launch the support tool and select Advanced from the left pane.
- Click on Clean and accept the confirmation prompt to proceed with the cleanup.
- Accept the prompts and follow the on-screen instructions to reinstall Malwarebytes.

Lower Malwarebytes Priority
Malwarebytes allows you to set a lower priority for scans, which results in less of a performance impact.
- In the General tab, scroll down to the Manual scan performance impact section.
- Select the Manual scans take less priority (less performance impact) option.

You can also set the Malwarebytes process to lower priority from the Task Manager.
This won’t directly reduce the CPU usage. But it’ll ensure your system remains responsive as other processes will be able to take priority over Malwarebytes.
- Press Ctrl + Shift + Esc to open the Task Manager.
- In the Details tab, set the Malwarebytes processes to Low priority.

Stop Malwarebytes Service From Running
If the Malwarebytes service is still causing high CPU usage, the only option at this point is to stop the service from running.
This will fix the high CPU usage and you’ll be able to perform manual scans but real time protection will be disabled. If you’re fine with that,
- Right-click the Malwarebytes icon from the taskbar and select Quit Malwarebytes.
- Press Win + R, type
services.mscand press Enter. - In the Services utility, locate the Malwarebytes service and double-click it.
- Stop the service, change the Startup type to Disabled, and press OK.


Analyze Log File
Since the usual solutions couldn’t fix the CPU usage problem, you should use the Malwarebytes Support Tool.
It’ll generate troubleshooting logs with info about your specific system and installation.
- Download and install the Malwarebytes Support Tool if you haven’t already.
- Launch the tool. In the Advanced tab, select Gather Logs.

After generating the log, you can analyze it yourself or contact the Malwarebytes Support Team for help. Either way, the log should help you figure out the exact problem.