
If you’re using a graphics card and trying to switch to the motherboard’s HDMI, it simply won’t work! You must enable the iGPU setting or at least set the Primary Video Device to integrated graphics.
The same applies to users attempting to hook multiple monitors — one connected to the GPU and the other to the motherboard.
Your motherboard HDMI also may not work due to one of the following reasons:
- Loose connection or damaged cable/port
- Intel/AMD processor doesn’t support iGPU (integrated graphics)
- Disabled or misconfigured iGPU settings in BIOS
- Faulty graphics drivers
Don’t worry! I will guide you through solutions to fix the HDMI issue on your motherboard.
Check Physical Connectivity and Damages
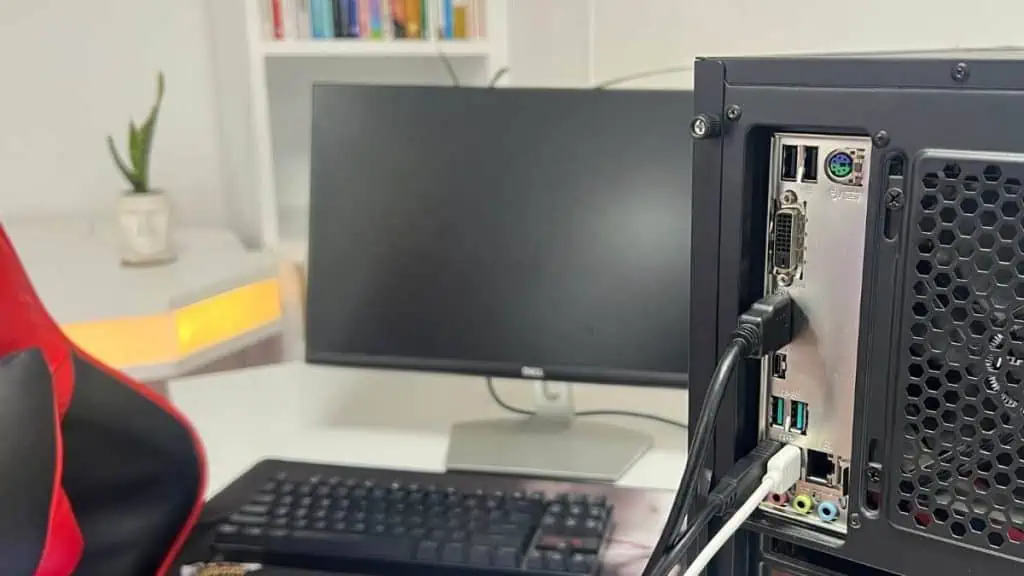
First, let’s rule out possible connection issues. Is the HDMI cable loosely connected to the monitor or motherboard? Or do you see any bent pins in the HDMI port?
Depending on the issue, try a different cable or use another video port. For instance, use a DisplayPort or VGA cable if the HDMI cable isn’t working.
Yet getting the same NO SIGNAL issue? I advise connecting your motherboard to a spare monitor if you own one.
If this worked, you can confirm that there’s an underlying issue with your motherboard. So, you may jump straight to the ‘Final Troubleshooting‘ section below.
If not, I believe you have a graphics card installed. And I’m pretty much sure you’re getting the display using its HDMI port.
Thus, the problem likely exists with the integrated graphics. There’s no need to worry though! The next troubleshooting steps are focused on the same and should help you enable the motherboard’s HDMI.
Ensure CPU Supports Integrated Graphics

Before that, I want you to confirm whether your CPU is packaged with iGPU. Note that most motherboards today support integrated graphics – but not all processors support it.
If you’re already planning to get a dedicated GPU, there’s usually no need for integrated graphics. That’s the reason PC builders install a CPU that doesn’t have built-in graphics support.
You can easily identify your processor specifications from BIOS or even Windows-based utilities. Do note that you’ll need to use one of your graphics card ports for this.
AMD users will see a sign of ‘Radeon Graphics’, meaning yours is an APU (which is different from CPU)!

On the other hand, Intel users can get to the Display section in one of the OS-based utilities. You should find an indication of HD/Iris/UHD (as demonstrated in the System Information application below).
Even recently when connecting four monitors using HDMI, I was getting a No Signal message on my colleague’s motherboard. Little did I know that he had installed a Ryzen 5 2600 (that required a discrete GPU).
If yours also doesn’t have iGPU support, you’ll have to rely on the graphics card. So, the only possible solution is to upgrade your processor. In case you’re ready to go for it, make sure the CPU and motherboard are compatible with one another.
Note: If your processor doesn’t support integrated graphics, you won’t find a relevant option in BIOS.
Configure iGPU Settings in BIOS
Now that you’ve confirmed your processor has a built-in GPU, it’s time to tweak this setting. Simply put, the option is automatically disabled when you install a graphics card.
The exact option varies depending on the motherboard manufacturer and platform (Intel or AMD). Here are the general steps that apply to all:
- First, connect your monitor to the dedicated GPU to get the display.
- Next, get to the UEFI/BIOS Utility. You may enter it from the Windows RE or simply use the manufacturer-recommended key during the startup/splash screen.
- If you’re in EZ mode, switch to Advanced mode. Even here, the dedicated key differs based on the manufacturer.
- Look for these options in the Advanced tab – Integrated Graphics Configuration, NB Configuration, SA Configuration, Chipset Configuration, AMD CBS, etc.

Follow our dedicated articles for a detailed overview of enabling/disabling iGPU: - Here, set the Integrated Graphics, iGPU/IGFX/IGD Multi-Monitor, or a similar option to Enabled/Forces/Auto.
- Lastly, save the settings and exit BIOS.
- Connect your display device to the motherboard’s HDMI port. Verify whether your monitor detects it or not.


If yours is already enabled, check if there’s a Primary Video Device setting. In case the option is configured to PCIe Video instead of IGFX Video, your motherboard’s HDMI port won’t work.

That’s what happened to me on my ASUS PRIME B450-PLUS. To fix the HDMI port not working on your PC, switch to the IGFX Video mode and save the change.
Note: Your graphics card’s HDMI won’t work if you set the Primary Video Device to IGFX Video in a single-monitor setup.
Try Updating or Reinstalling Graphics Drivers
If the problem persists despite having the iGPU option enabled in BIOS, graphics drivers could be the ones to blame. Broken or corrupted drivers can sometimes lead to no display issues as they interrupt the hardware-to-software communication.
Keep in mind that we’re updating the iGPU driver (not the dedicated GPU). And as with earlier troubleshooting, you’ll need to use your graphics card here.

The easiest way to do this is from the Device Manager. Expand Display Adapters, right-click on your iGPU driver, and choose Update Driver. Select Search automatically for drivers and the process should begin.
Did you get the ‘best drivers are already installed’ message? That’s pretty normal. In this scenario, I advise searching for a relevant driver on Windows Update.

Sometimes, graphics drivers could be hidden inside Optional updates. Don’t forget to check that out (Advanced Options > Additional Options section > Optional updates > Driver updates).
Still no HDMI signal? Well, the last thing is to download and install the graphics drivers manually.
I prefer getting the VGA drivers from the motherboard’s Driver & Utilities section on the official website. You may even try the one provided on the Intel or AMD’s Support page too.

In rare case scenarios, HDMI drivers may also trigger this issue. Here’s a complete guide to help you update the HDMI drivers on Windows.
Final Troubleshooting
The aforementioned solutions are sure-shot fixes. But if your motherboard HDMI is yet not responding, it’s very much inclining towards a hardware failure.
I believe you’ve already done a proper inspection of the ports and cables as suggested in the beginning. Now, I want you to confirm the following and go with the fixes accordingly:
- Did your motherboard’s HDMI function before a significant change in the OS? For example, Windows update! If so, I recommend reverting it or performing a system restore.
- Are you getting a black screen even after plugging the HDMI cable into the graphics card? If yes, examine if there’s a red/orange light on the motherboard. In that case, you could be having an issue with other components rather than the HDMI port.
- If nothing works, there could be an issue with your motherboard’s firmware. Try clearing CMOS to reset BIOS and load the factory settings.
- The final resort is to update your BIOS. This will fix any instability or add compatibility to a new component.
In case nothing helps, you might want to contact your vendor. Check your warranty and report the exact issue. The manufacturer may replace your supposedly damaged board.