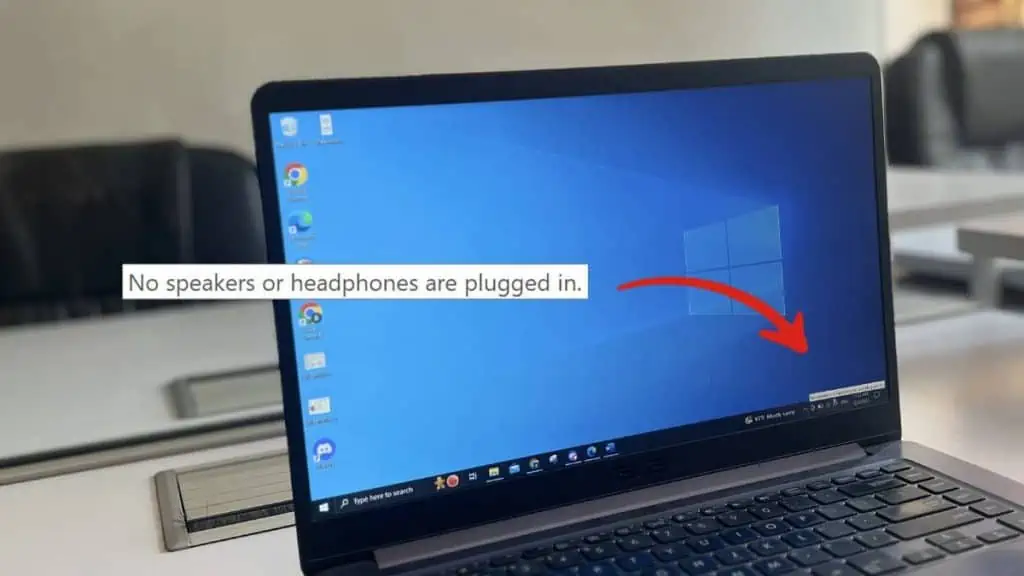
If your computer can’t detect any input/output audio devices, it will show “No speakers or headphones are plugged in” error message.
Depending on your Windows version, you may get the message, “No audio device is installed” or “No Audio Output Device is installed” instead.
In such cases, run the audio troubleshooter or look out for connection issues with the speaker or headphone. If you have properly connected them, update, reinstall or rollback the audio drivers.
You can also check for the audio device and your motherboard’s audio controller for any damage.
Run Audio Troubleshooter

First, run the Audio Troubleshooter through your system settings. This utility automatically looks out for possible causes for your audio issues and attempts to fix them.
It will also guide you through the process if necessary.
Here’s what you need to do:
- Press Windows key + I to open Windows Settings.
- Go to System > Troubleshoot > Other troubleshooters.
- Look for Audio and click Run next to it. It will load the Audio Problems Troubleshooter on the Get Help utility.
- Go through the prompts to troubleshoot your audio.

Enable Audio Device
You will also encounter this error if all your audio devices are disabled or disconnected. So, check the Sound settings and make sure that the audio device you need is enabled. For that,
- Open Run by pressing Windows + R.
- Type
mmsys.cpland press Enter. - On the Playback tab, Right-click anywhere and make sure to enable Show Disabled Devices and Show Disconnected Devices.

- Look for your speaker or headphones. For that,
- If you are using a USB audio device, it will usually show up with its own OEM driver.
- If you are using the audio jack for the device, it will be using the built-in driver, like Realtek.
- If you are using the audio jack on the monitor (after connecting it using HDMI or any other media that supports sound transmission), it will show up with a monitor icon. On my PC, it shows the AMD High Definition Audio Device.
- The icon on the side will also help differentiate the speaker, the headphone, and the digital output.
- If the device is disabled (black downward arrow icon), right-click on it and select Enable Device.
- If it is disconnected (red arrow icon) or missing, your system is not detecting the device. In such cases,
- Try reconnecting the device. You can also use other ports for this purpose. A desktop PC should have audio ports on the front and the back panel.
- If it doesn’t help, go through the solutions below.


services.msc on Run) anyway. Windows can misidentify the nature of an issue and show other error messages in rare cases.Update Windows along with Audio and Chipset Drivers

Outdated or corrupt audio drivers can also cause this error. Other than that, bugs in the current OS version or chipset drivers may also lead to incompatibility between the audio drivers and your system.
Update your drivers and system to prevent such issues. Microsoft rolls out driver updates together with system updates, so performing a manual Windows update should be enough.
To do so,
- Open Windows Settings.
- Go to Windows Update and click on Check for updates. It will show all available system and driver updates.
- Then, click Install all.
Reinstall or Roll Back Audio Driver

If you could not find any audio or chipset drivers in the updates, and updating Windows did not help, uninstall and reinstall, or roll back your audio driver.
Doing so will resolve most issues with the current driver software. You can use the Device Manager for this purpose.
- Open Run.
- Type
devmgmt.mscand press Enter. - Click on View from the menu bar and select Show hidden devices.
- Expand Sound, video and game controllers.
- Look for your audio device, right-click on it and select Uninstall device > Uninstall.
- If you are not sure which one it is, do uninstall all of them.
- Then, right-click on your computer name (on the top) and select Scan for hardware changes. It will reinstall the devices you just uninstalled.
You can also check out our How to Install Audio Driver guide if you wish to manually install the driver after uninstalling it.

If reinstalling the driver did not help, try rolling it back to the previous version.
To do so,
- Right-click on your audio device and select Properties.
- Go to the driver tab and click on Roll Back Driver. Confirm your choice.
- If the option is grayed out, move on to the next solution.
Repair/Replace the Audio Device or Controller
If the above solutions could not resolve the issue, it may be due to faulty devices or even faulty audio controllers on the motherboard. In such cases,
- Connect the audio device to another computer or device if applicable and see if it works.
- Alternatively, if you have other audio devices that use the same connection media, try connecting those to your PC instead.
- Enter your computer’s BIOS and check if the audio panels/controllers are enabled or not.
If the built-in speakers on your laptop are not working, or the external speaker works on all devices except yours, then your audio controllers are broken.
Take your computer to the official service center or any local hardware shop for repairs or replacement. If your external speaker or headphone does not work on any device, get a replacement for it instead.