Whenever you open a file in Windows, it runs the application associated with it and then opens it through that app. Sometimes, you may set a different default app for a file by accident or associate files that you don’t want to have an association for.
You can change the default apps for the files using the “Open with” option on the context menu. However, sometimes you need to remove the association and not just change it. In this article, we mention various ways you can use for this purpose.
How to Remove File Association on Windows?
Here are some of the ways you can use to remove file type association on Windows:
Change Registry Settings
The easiest way to remove file association on Windows is to delete the associated registry keys. However, you need to delete the keys for each association you want to remove. So, the process can be tedious if you want to remove multiple associations.
Regardless, we have mentioned the steps you need down below. Here, we use a PNG file as an example, so you need to replace .png with the extension whose file association you wish to remove. First, back up your registry to account for any unforeseen situations.
- Press Win + R to open Run.
- Type
regeditand press Enter to load the Registry Editor. - Then, navigate to
Computer\HKEY_CLASSES_ROOT\.png - Right-click on
.pngon the left sidebar and select Delete.
- Confirm with Yes.
- In the same way, delete the following registry keys (if they exist):
Computer\HKEY_CLASSES_ROOT\SystemFileAssociations\.pngComputer\HKEY_CURRENT_USER\Software\Microsoft\Windows\CurrentVersion\Explorer\FileExts\.pngComputer\HKEY_CURRENT_USER\Software\Microsoft\Windows\Roaming\OpenWith\FileExts\.png


You can also create a registry merge file and delete these keys. To do so,
- Open Run.
- Type
notepadand press Enter to open the Notepad. - Paste the following lines in the text editor (while replacing
.pngwith the extension you need):Windows Registry Editor Version 5.00
[-HKEY_CLASSES_ROOT\.png]
[-HKEY_CLASSES_ROOT\SystemFileAssociations\.png]
[-HKEY_CURRENT_USER\Software\Microsoft\Windows\CurrentVersion\Explorer\FileExts\.png]
[-HKEY_CURRENT_USER\SOFTWARE\Microsoft\Windows\Roaming\OpenWith\FileExts\.png] - Press Ctrl + Shift + S to save the file with a different extension.
- Go to any save location you want and set Save as type to All files.
- Set the File name to
remove_png_association.regand click on Save. - Then, navigate to the location you saved the file through File Explorer.
- Double-click on
remove_png_association.regand confirm any prompts.

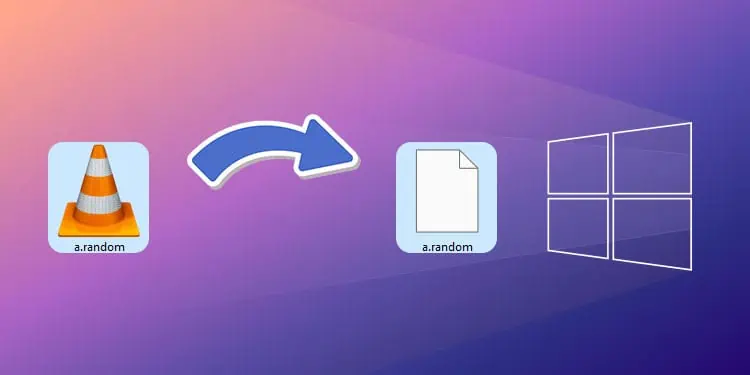
Remove File Association Using Another File
Deleting or uninstalling the app associated with a file also removes the association. However, if it’s not practical to uninstall your programs, you can associate the file with another file and then delete the other file to do the same.
Here’s one way you can do so:
- Open the Notepad text editor.
- Press Ctrl + Shift + S to save the file with a different extension.
- Go to any save location you want.
- Set the File name to anything you wish while giving it a random extension. Here, we use the example
trickapp.nofile. - Then, change the Save as type to All files and click on Save.
- Now, navigate to a file whose file association you wish to remove.
- Right-click on it and select Open with > Choose another app.
- Check Always use this app … and.
- Scroll through the options and click on More apps > Look for another app on this PC.
- Set the drop-down box on the right to All Files and then head over to the location where you saved the previous file (
trickapp.nofile). - Select the file and click Open.
- You’ll get the “This app can’t run on your PC” error message. Click Close.
- Then, go to
trickapp.nofileor your file’s location and delete the file.


Now, you should have removed the file association for the file you need. The next time you try opening such files, your system will prompt you to choose which app you want to use for the file.
Use Third-party Applications
Various third-party apps, such as Types, FileTypesMan, Unassoc, and so on, remove the association for various file types. They are very easy to use, so you can download and install one such app and use it.
Make sure you have checked the user reviews for their reliability before installing them. If you find any problem while deleting an association, you can visit their official websites for more information.
Reset All File Type Association
While this is not a way to remove file associations, you can reset all file type associations to the default settings through Windows Settings. Here’s how you can do so:
- Open Windows by pressing Win + I.
- Go to Apps > Default apps.
- Scroll to the bottom and click on Reset next to Reset all default apps.

Import File Type Association Configuration
You can also import the file association configuration from another PC with default settings to have the default configuration on your own. To do so,
- On the other computer, Open Run.
- Type
cmdand press Ctrl + Shift + Enter to open the Elevated Command Prompt. - Enter the following command to export the configuration to your Desktop folder:
dism /online /Export-DefaultAppAssociations:“%UserProfile%\Desktop\AppConfig.xml” - Now, transfer the AppConfig.xml file to your own computer.
- Open the Elevated Command Prompt on your PC.
- Enter the command below (Here, we assume the file is on the Desktop. If you have stored it in any other location, change the path accordingly):
dism /online /Import-DefaultAppAssociations:“%UserProfile%\Desktop\AppConfig.xml”
