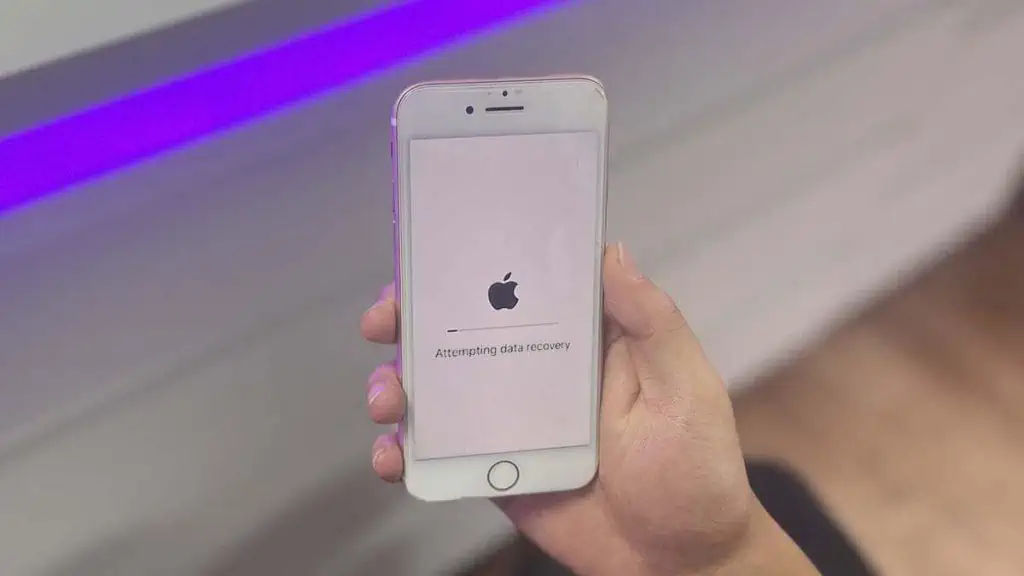
The “iPhone Attempting data recovery” message usually shows up when an update has failed or couldn’t be completed. This could happen due to several reasons:
- iPhone shutting down during the update
- Not enough space available for the update
- Corrupted update
- Disconnecting your iPhone when updating through Finder or iTunes
Normally, the data recovery process completes in under 30 minutes and your iPhone should be back online. However, if the data recovery process gets stuck or fails, that can lead to a boot loop.
To fix this issue, start by force restarting your iPhone to terminate the data recovery process. If this doesn’t work, you might need to restore your iPhone.
Force Restart
The steps to force restart your iPhone will differ a little depending on your iPhone model.
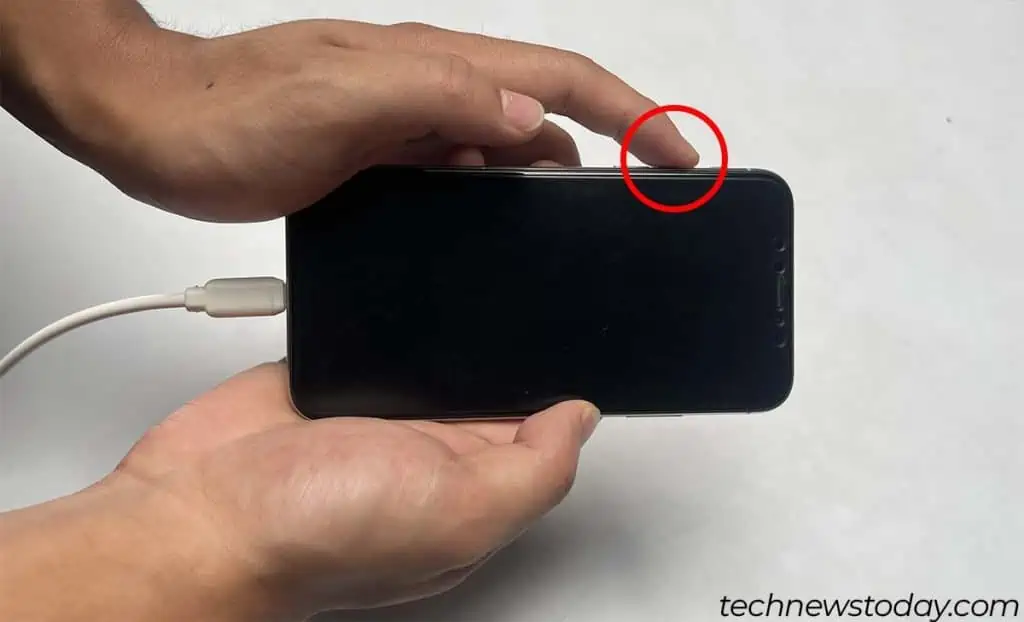
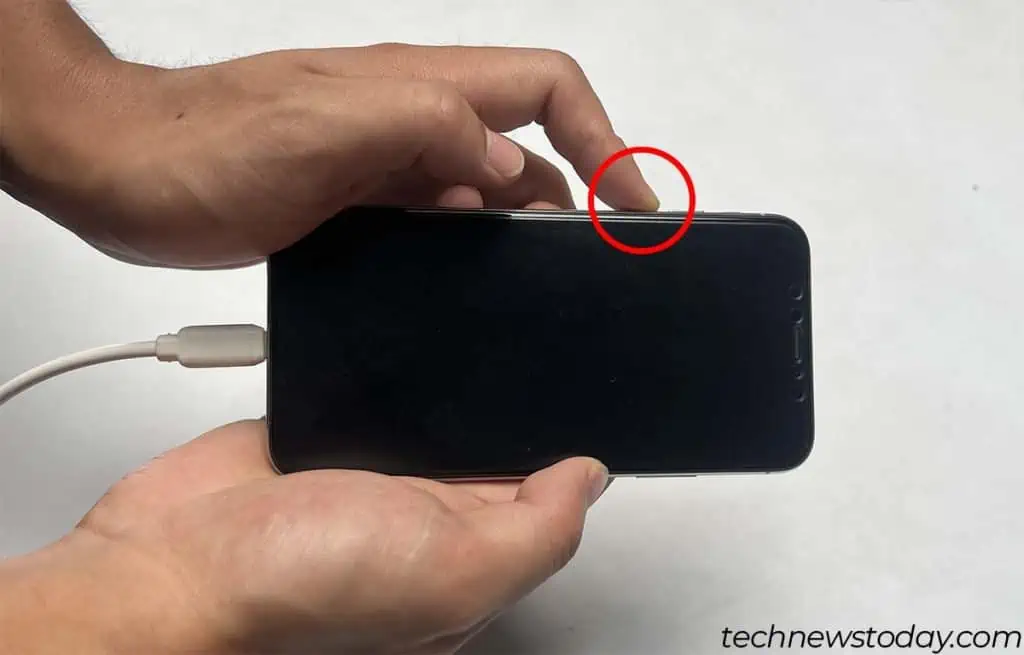
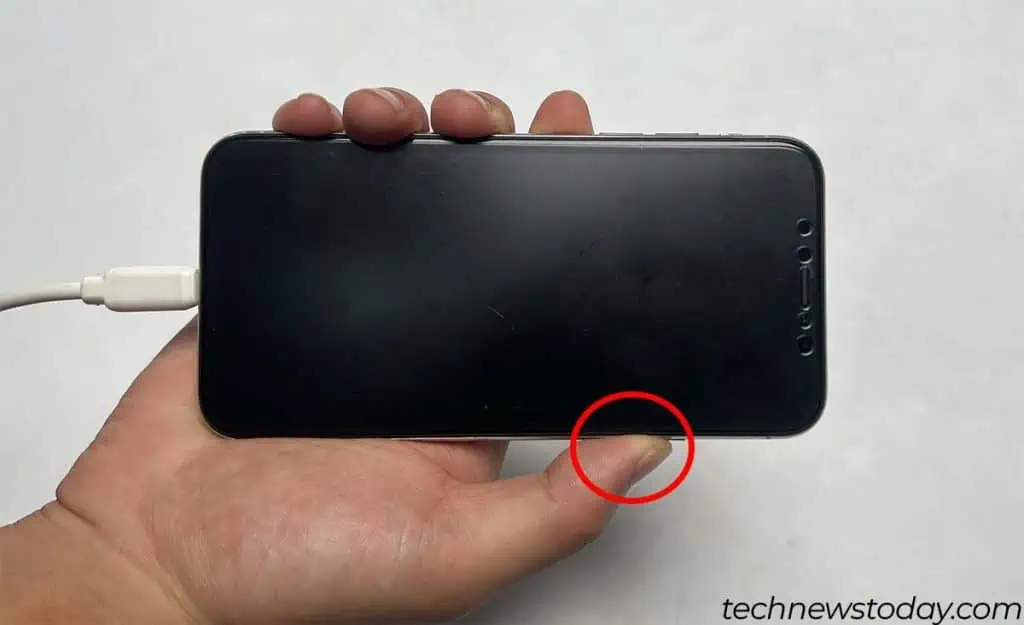
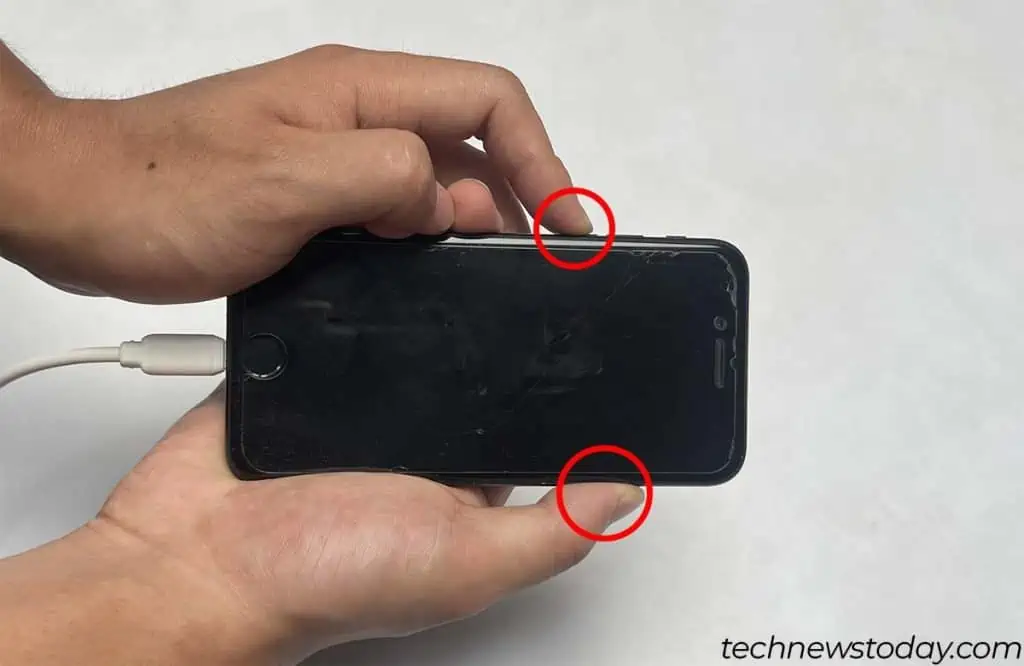
- For iPhone 8 and newer, press the volume up and volume down buttons one after another. Then, hold the power button until the Apple logo appears.
- For iPhone 7 and older, press and hold the power and the volume down button simultaneously. After the Apple logo appears, release both of the buttons.
Restore iPhone
Another thing you can do to fix this issue is to restore your iPhone. This will wipe all the data from your iPhone and revert it back to the factory default settings.
However, this will result in complete data loss, so make sure you have a backup on iCloud or Finder/iTunes.
Anyway, I’ll show how you can reset your iPhone and restore from a backup (If you have already made a backup).
Step 1: Enter Recovery Mode
As your iPhone is stuck on the attempting data recovery screen, you will need to reset your iPhone through Finder or iTunes.
For this to be possible, your iPhone will need to be in recovery mode.
For iPhone 8 and newer
- Connect your iPhone to a computer.
- Press the volume up button and quickly release it.

- Do the same for the volume down button.

- Press and hold the power button.

- Keep holding the power button even after the Apple logo appears to enter Recovery mode.
For iPhone 7 and older
- Connect your iPhone to your computer.
- Press and hold both the volume down and power button simultaneously. (If your iPhone has a home button, you may need to press and hold it instead of the volume down button.)

- Keep holding the two buttons even after the Apple logo appears to enter Recovery mode.
If you want to exit out of recovery mode without doing anything, simply force restart your iPhone.
Step 2: Reset iPhone Through Finder or iTunes
Now, you can connect your iPhone to your computer to reset it. If you have a Mac running Catalina or higher, you will need to use Finder. For anything lower, you will need to use iTunes.
Finder isn’t available for Windows operating systems, so you’ll have to use iTunes.
- Connect your iPhone to your computer.
- Open Finder or iTunes. (If you’re on Windows, download iTunes from the Microsoft store.)
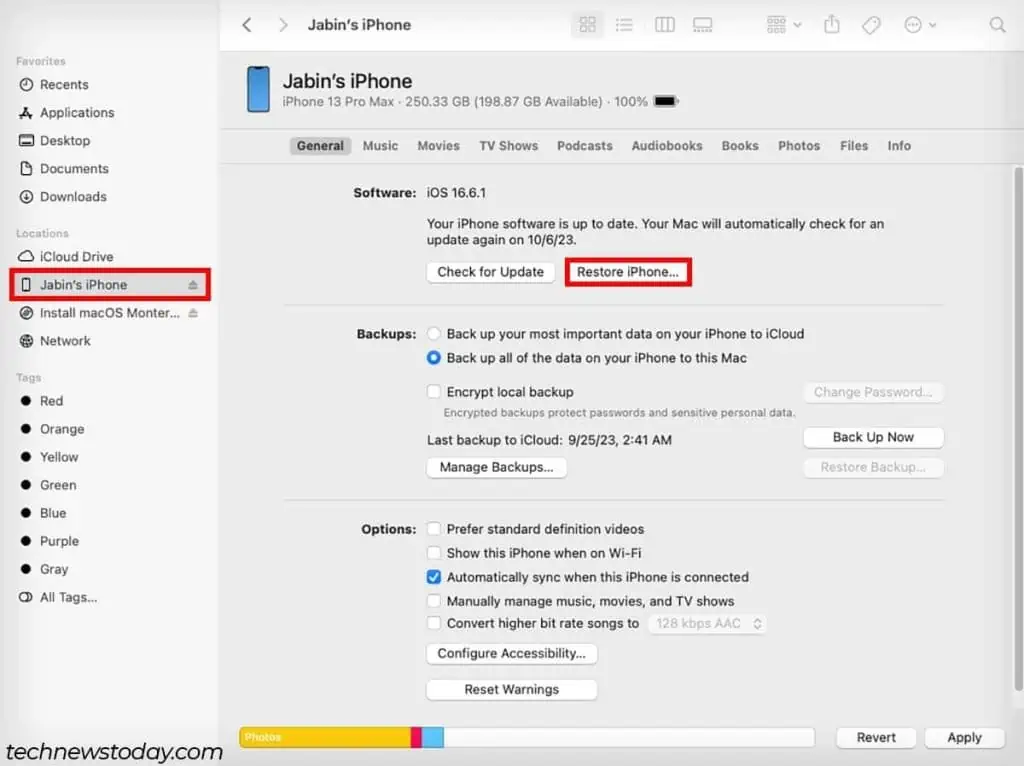
- Click on the device name on the left sidebar. (For iTunes, click on the device icon at the top.)
- Select Restore iPhone.

- Click on Restore again. It will take a while.
Your iPhone is as good as new now. You can either set it up immediately and start using it as a new device or restore from a backup.
Step 3: Restore iPhone From a Backup
After your iPhone is reset, you can restore it from a backup to get all of your data back. The steps to restore your iPhone will depend on where you backed it up.
I’ll show you how you can restore your iPhone from iTunes/Finder or iCloud backup.
Using iCloud
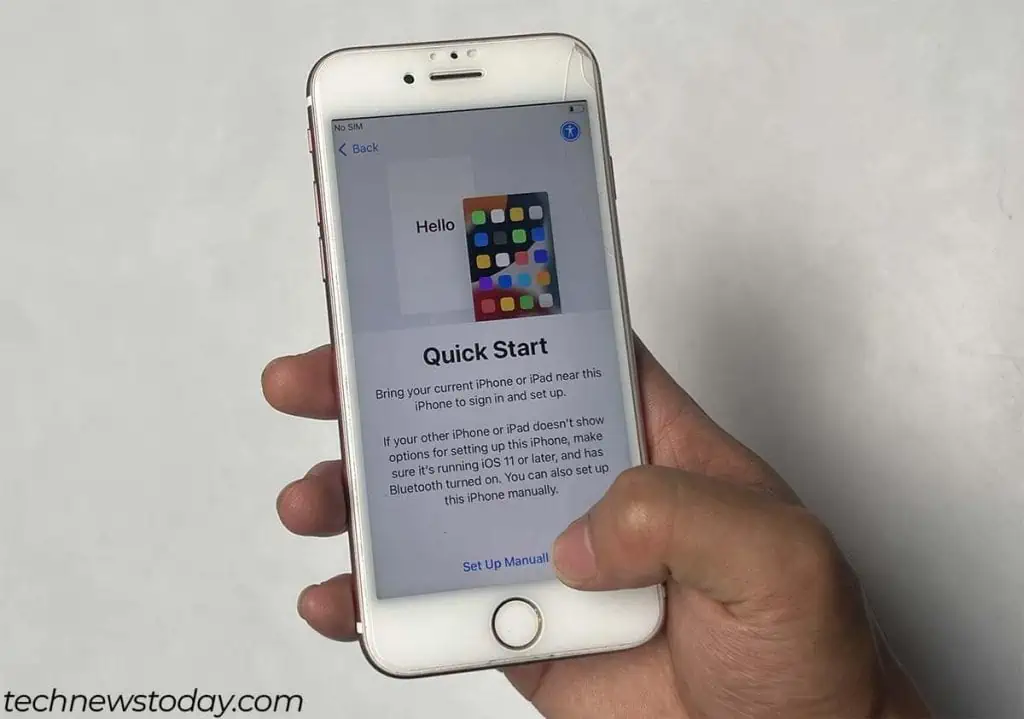
- Start setting up your resetted iPhone until you land on the Quick Start screen.
- Tap on Set Up Manually.

- Continue setting up your device by following the on-screen instructions.
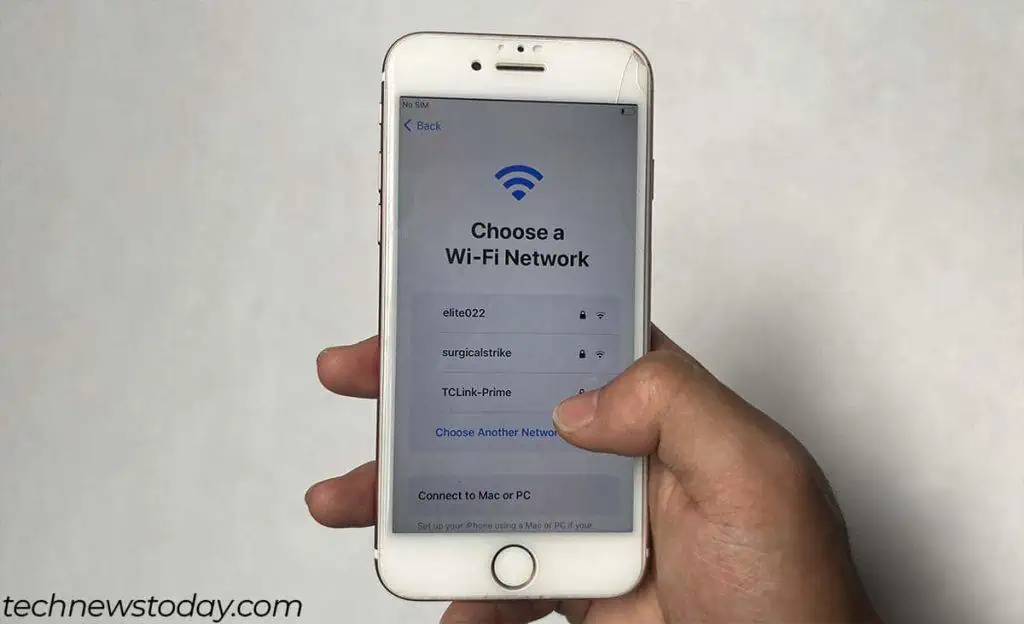
- Make sure to set up Wi-Fi as this will be necessary to restore from iCloud backup.

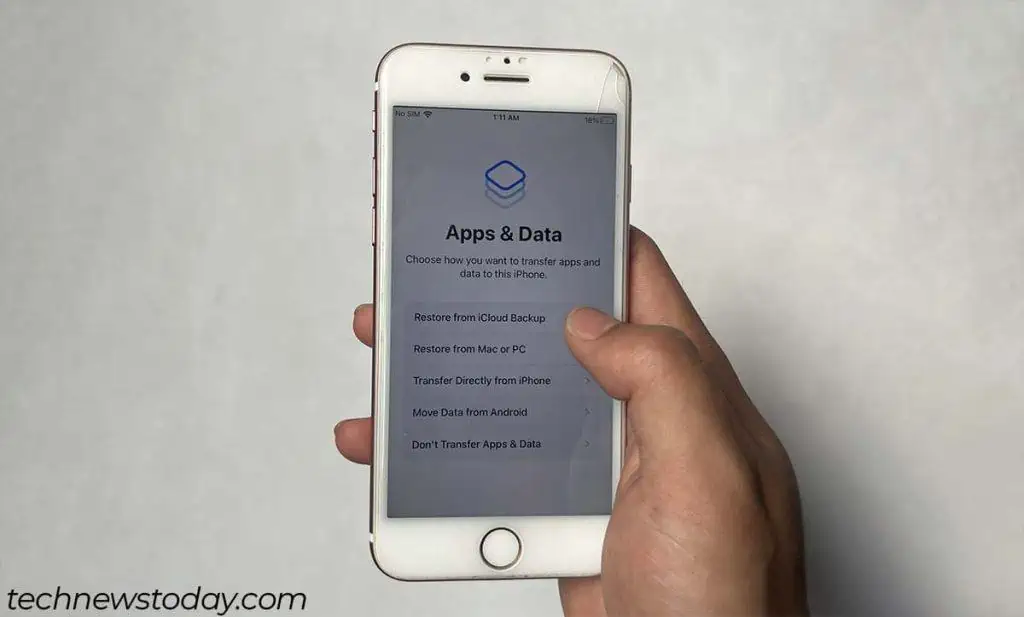
- When you land on the Apps & Data screen, select Restore from iCloud Backup.

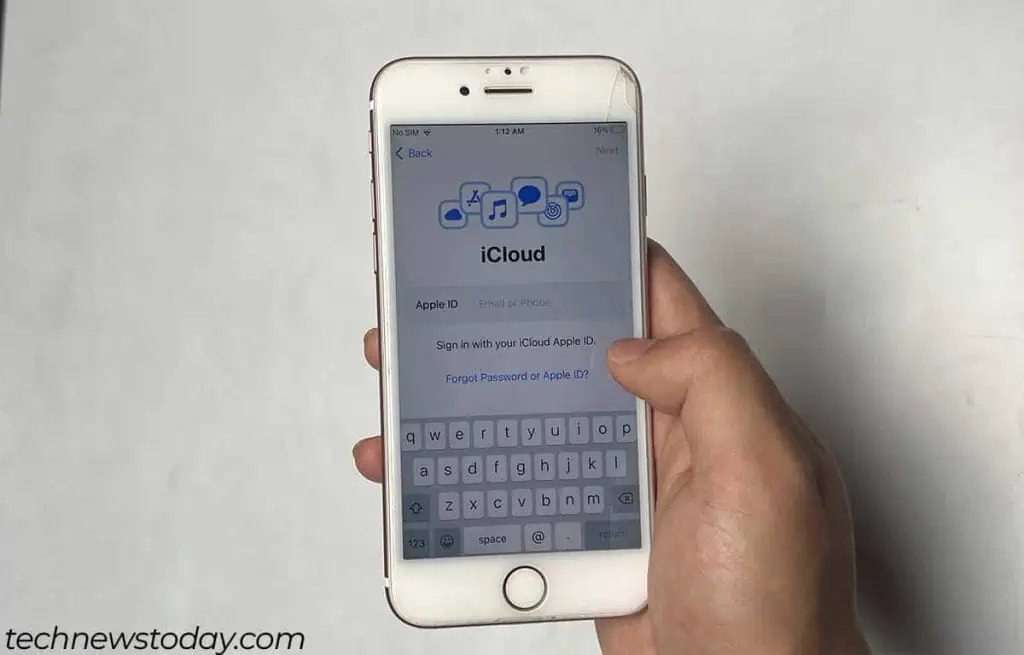
- Enter your Apple ID and password.

- Verify it’s you by entering the code you received on your other devices.
- In the Choose Backup screen, select your most recent backup.
- Tap Continue and follow the on-screen instructions to restore your iPhone from an iCloud backup.
Using Finder/iTunes
- Connect your resetted iPhone to your Computer.
- Open Finder or iTunes.
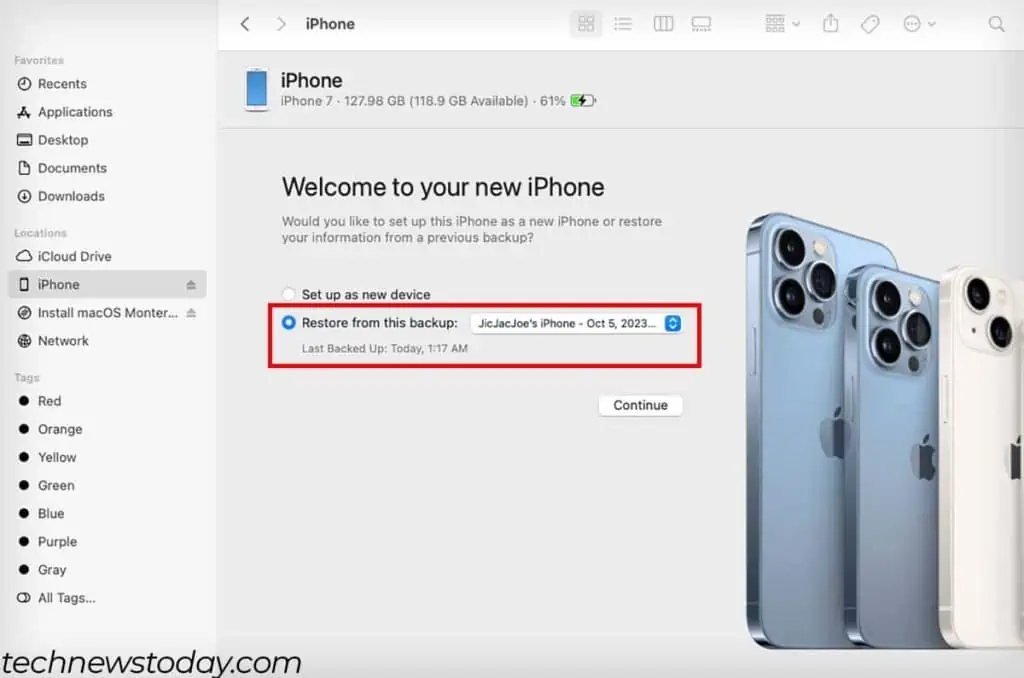
- You should automatically be redirected to the Welcome to your new iPhone screen.
- Select Restore from this backup, and choose your most recent backup.

- Click on Continue to start the process. (If it was an encrypted backup, enter your encrypted backup password, and click OK.)
Use Third-party Applications
Lastly, third-party apps like Reiboot, Wondershare Dr.Phone, UltPhone iOS System Repair, etc., can also resolve this issue.
The downside to these apps is that their advanced recovery options are locked behind a paywall and they do not guarantee a fix.

