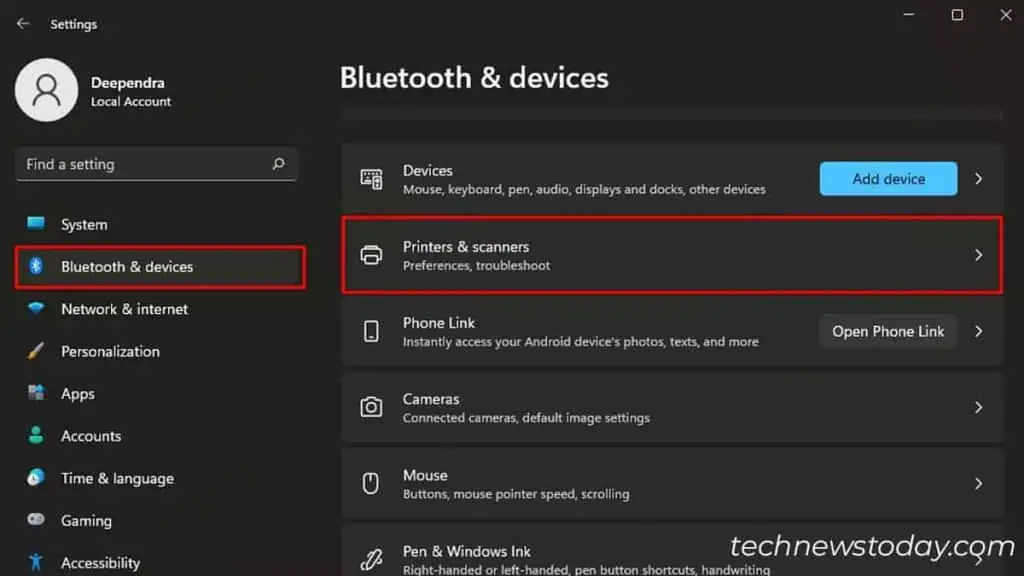
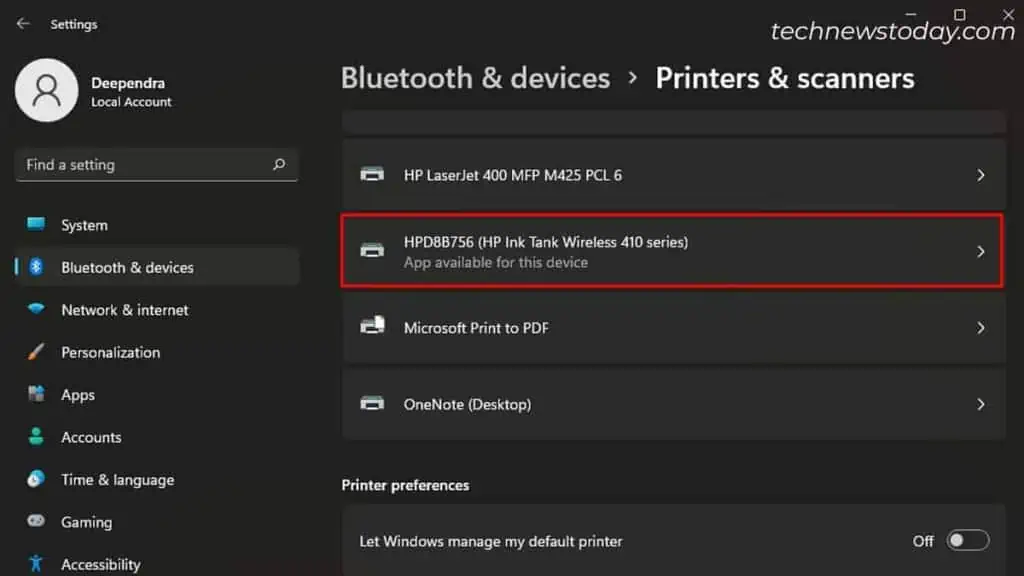
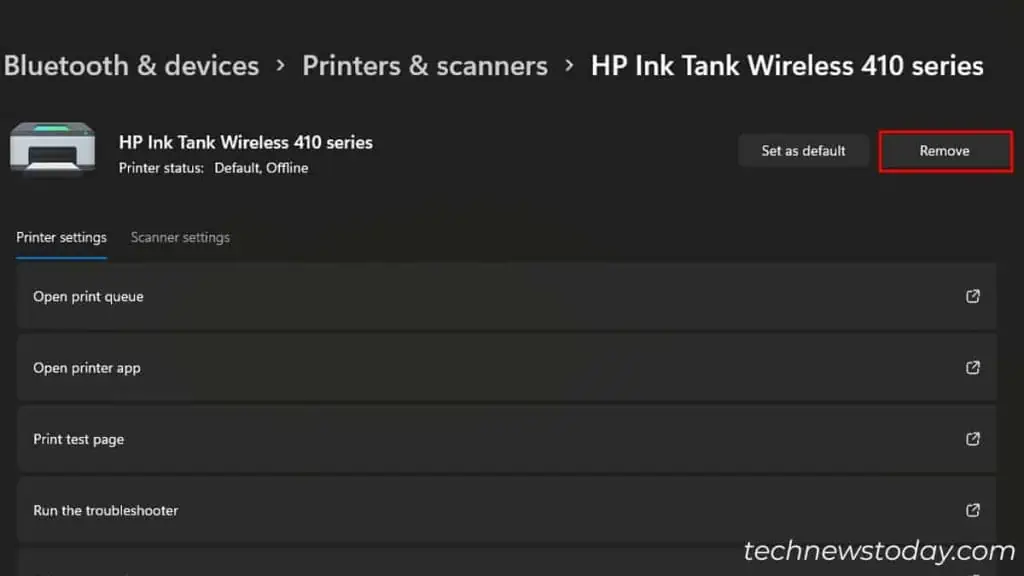
If your HP printer won’t print, first check its status. Go to Settings > Bluetooth & devices > Printers & scanners and choose your printer.
In case the Printer Status is offline, it needs a different approach to fix the issue. Refer to our guide on fixing an offline HP printer.
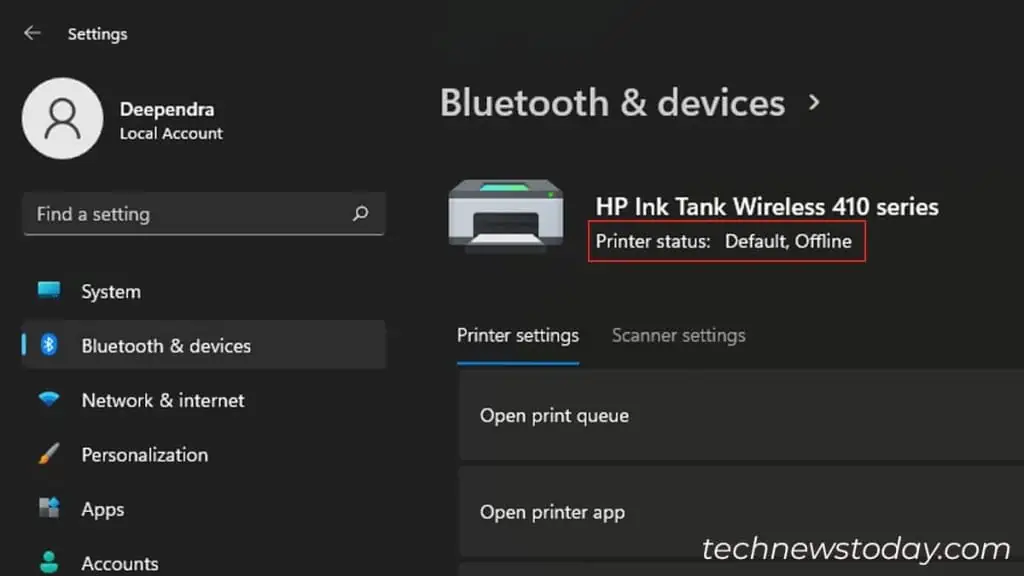
If not, there is a high chance the print spooler service has crashed. Let’s start by fixing the same.
Restart the Spooler Service
The print spooler service is responsible for handling all the print jobs on your computer. However, it can run into errors or fail if there are a bunch of print requests pending in a queue.
No worries, though! A simple restart will fix the issue, and you can start printing again. To do this,
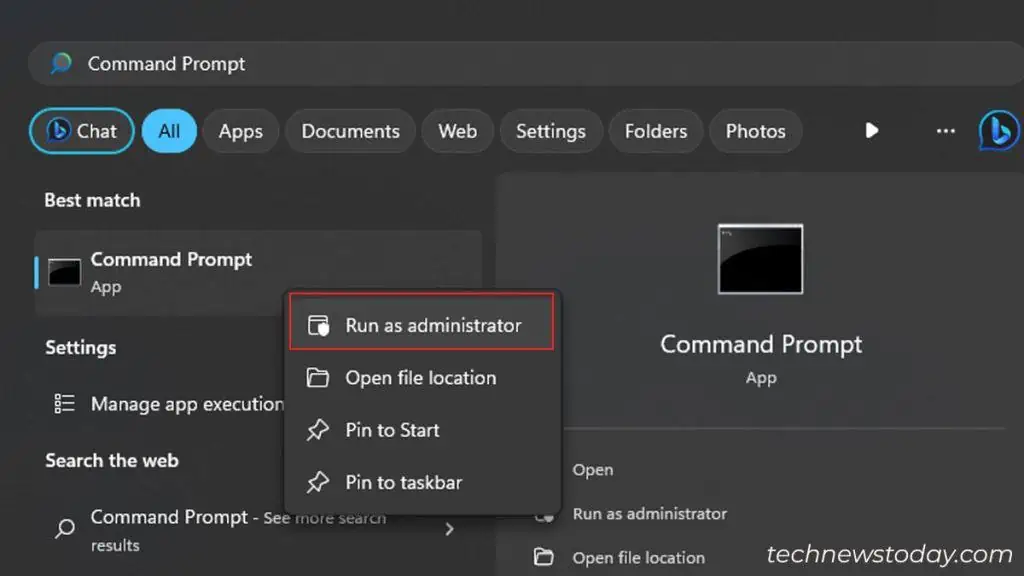
- Open CMD as administrator.

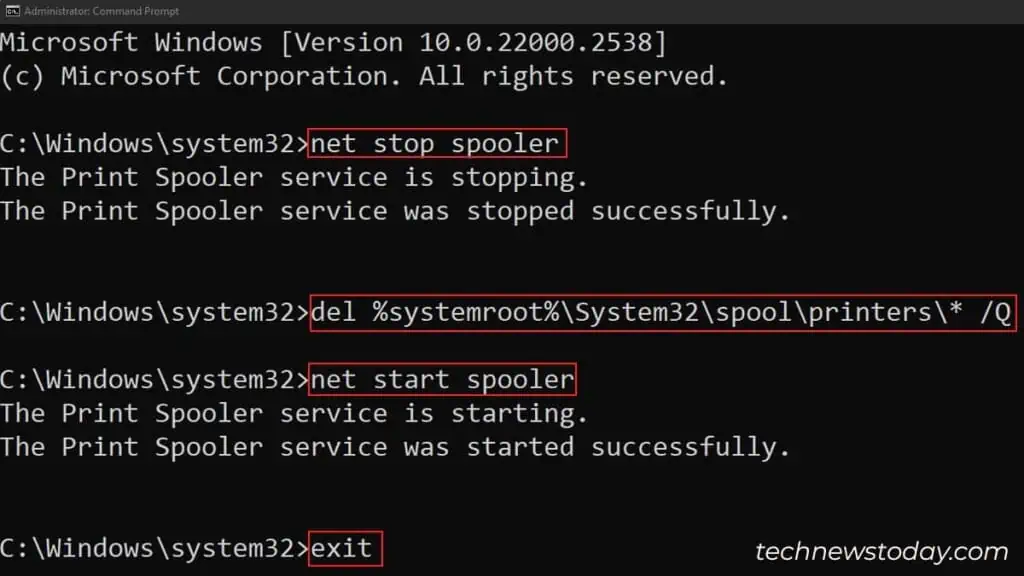
- Run these commands.
net stop spoolerdel %systemroot%\System32\spool\printers\* /Qnet start spoolerexit
- Try printing.
Run HP Print and Scan Doctor
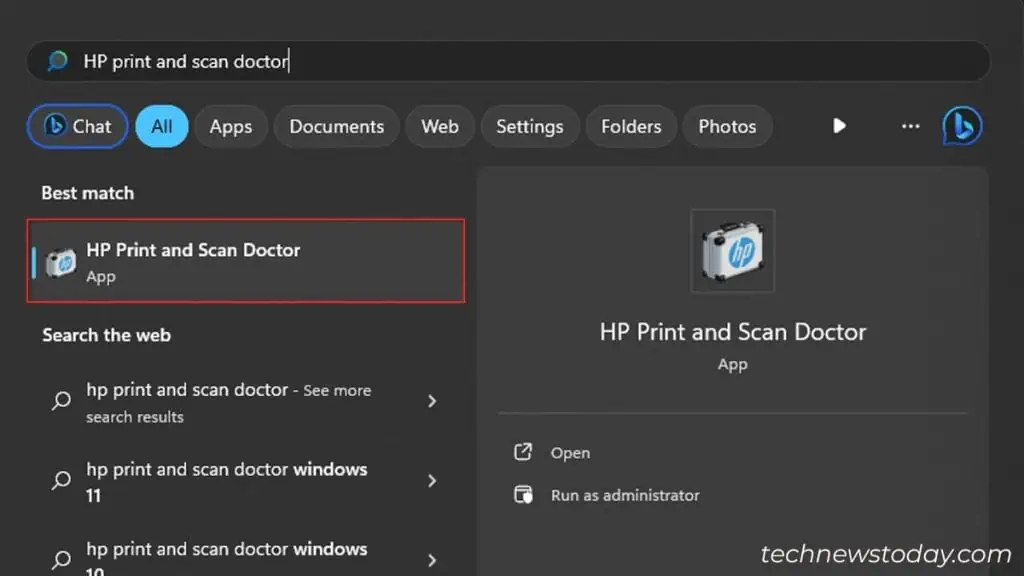
Hopefully, your printer has already started printing after restarting the print spooler. If that doesn’t work, you can download and run the official HP Print and Scan Doctor app.
This app can find and resolve any problems with your HP printer. I often use it whenever I encounter issues with my HP Ink Tank Wireless 415 printer. I recommend you try it as well.
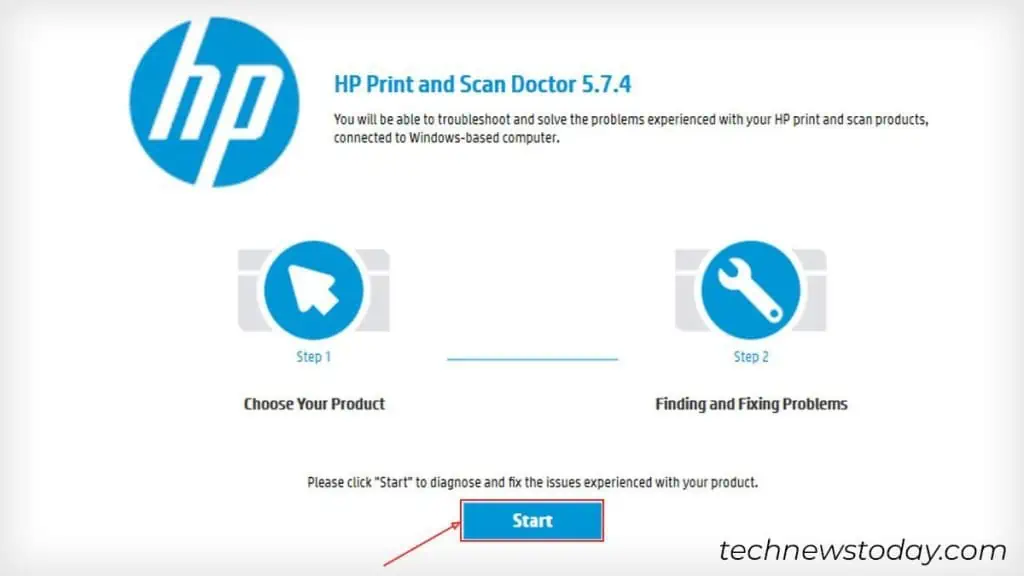
- Open the HP Print and Scan Doctor app on your PC.

- Click the Start button.

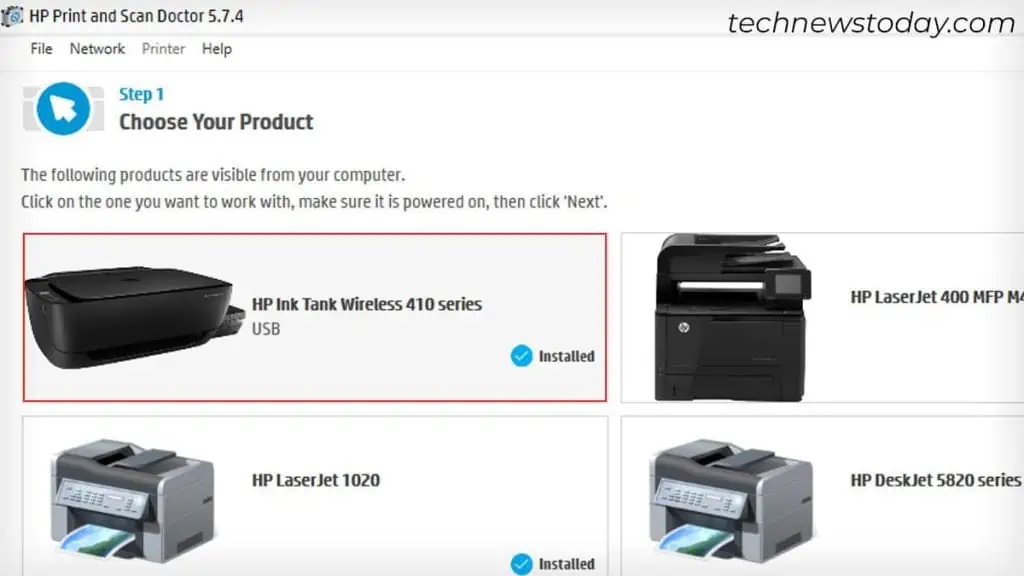
- Select your printer profile and then click Next.

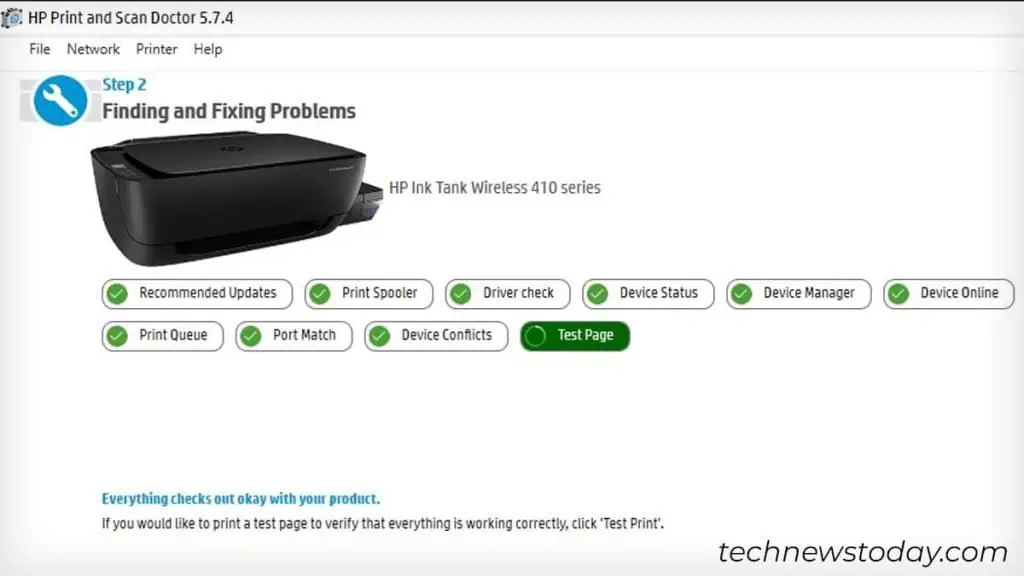
- Wait some time till the troubleshooter diagnoses the issue and solves the problem.

Check for Printer Errors
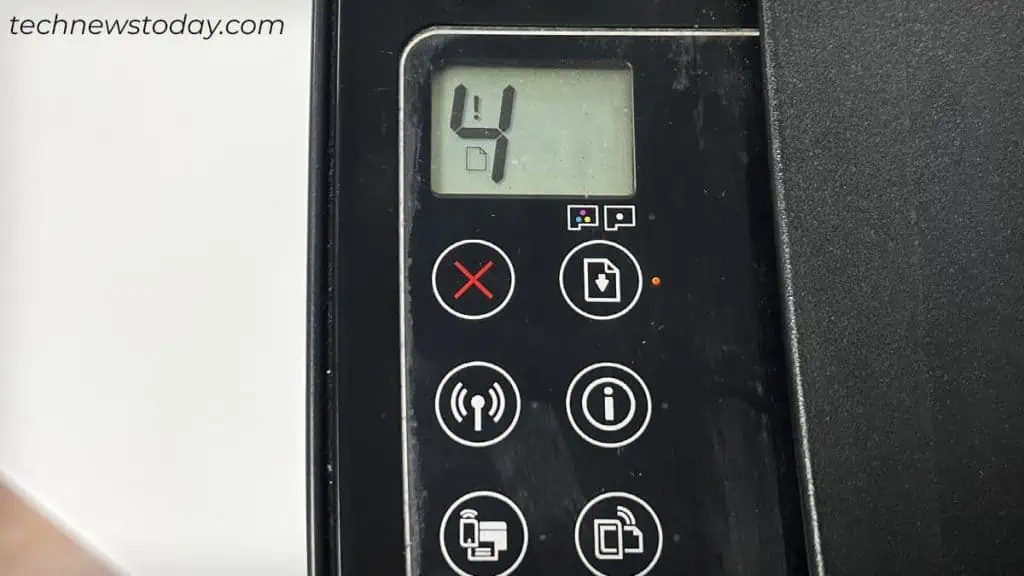
Moving forward, make sure no error messages are popping, or any kind of lights flashing in the printer’s display panel. It indicates there is a critical failure within your printer.
For example, an E2 error message on the printer’s display panel means there is a paper size mismatch error. Similarly, an E4 error indicates a paper jam. Look after the errors and fix them accordingly.
While at it, also make sure there is enough ink on the printer. On top of that, don’t forget to set the appropriate paper size and paper quality in the Printing Preferences.
Specifying the incorrect paper size often leads to printing blank pages. But, sometimes, it entirely prevents the printer from printing. To fix it,
- Launch Windows Settings and click Bluetooth & devices > Printers & scanners.

- Select your HP printer.

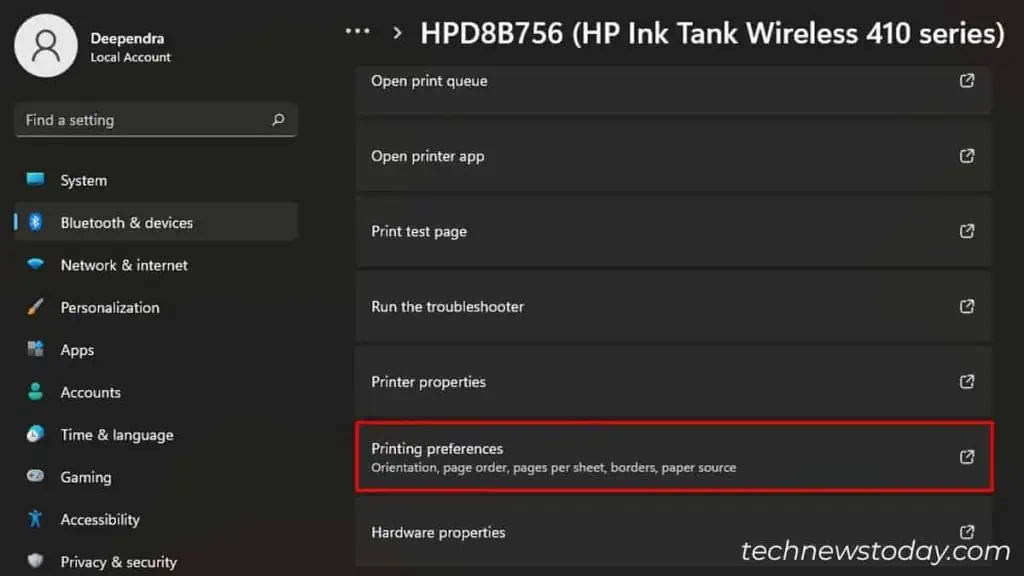
- Click Printing Preferences.

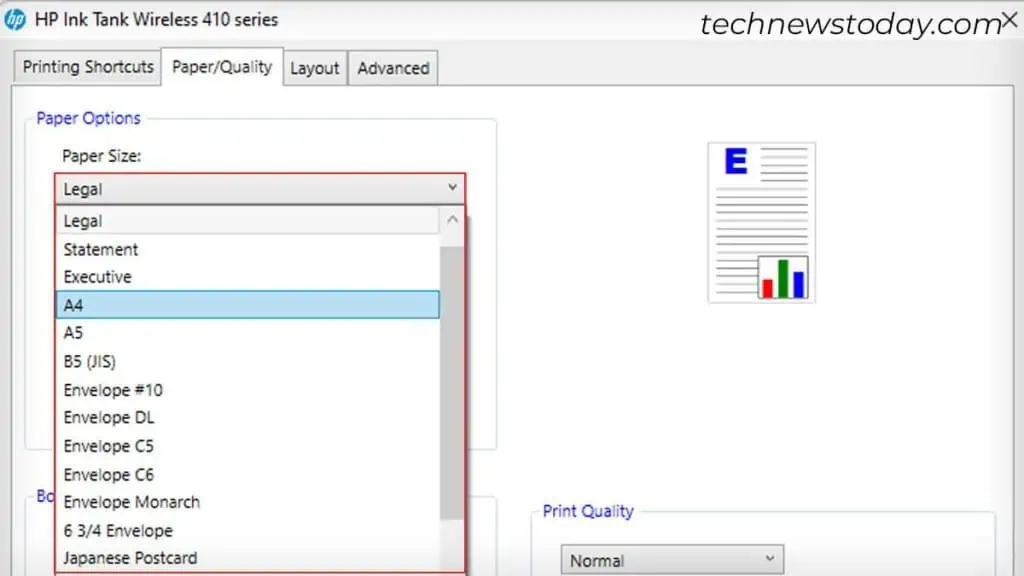
- Go to the Paper/Quality tab.
- Select the proper Paper Size.

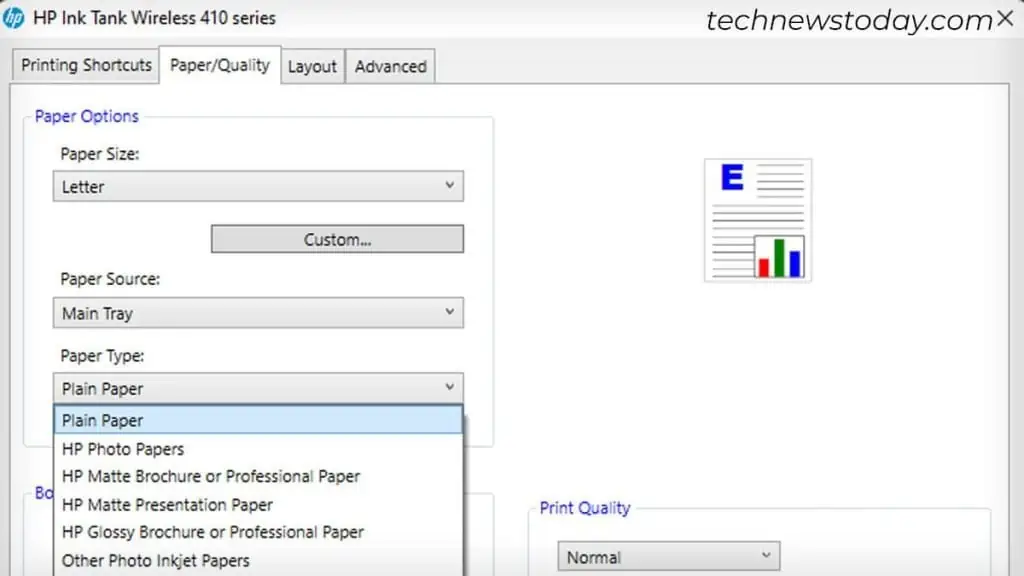
- Then choose the Paper Type.

- Click OK.
Install the Printer Driver
Not having a printer driver is another major reason your HP printer refuses to print. Simply download the driver and install it if you haven’t already.
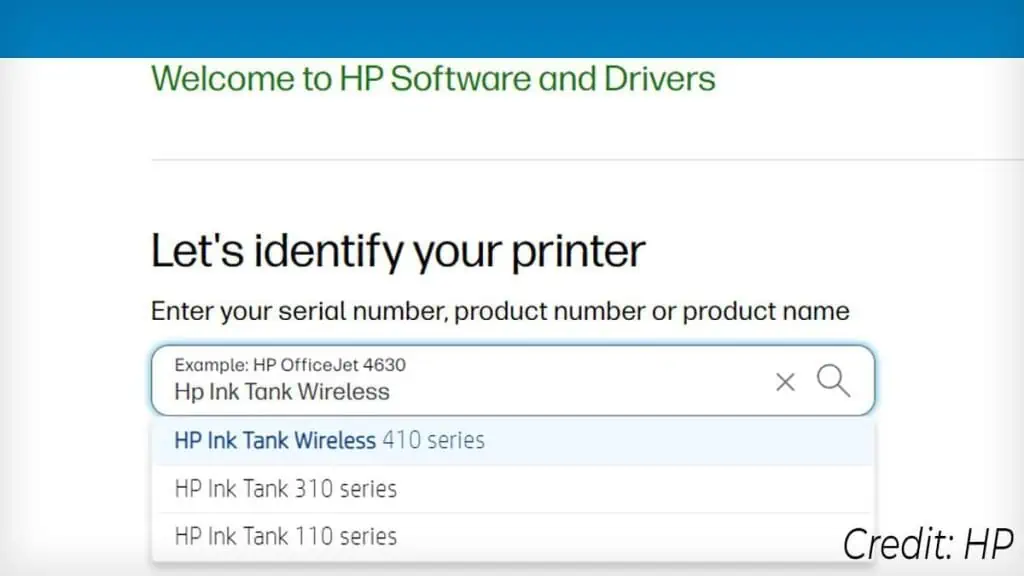
- Open the Software and Driver Downloads page of HP.
- Search for your printer model.

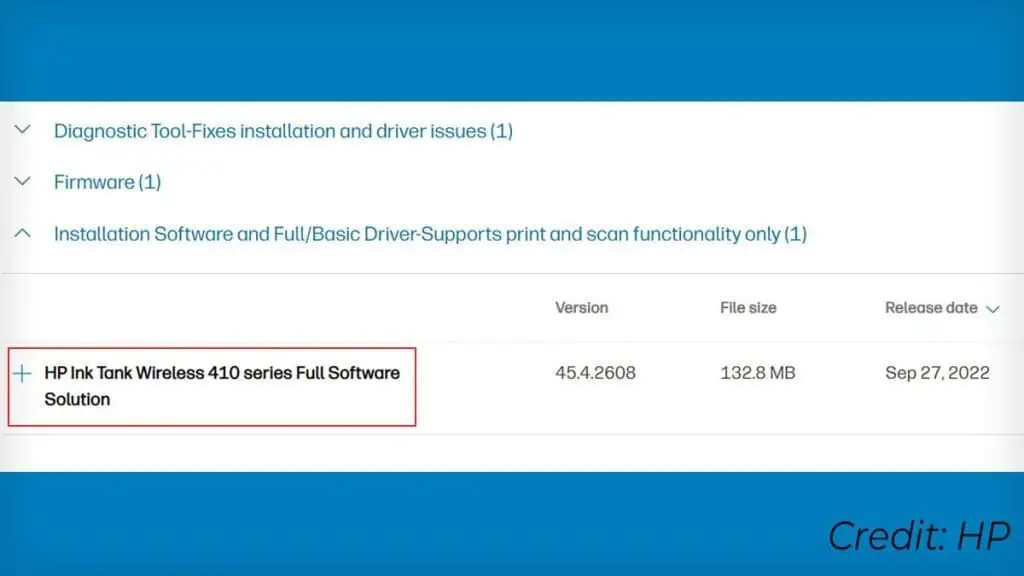
- Expand the Installation Software section. Then click the Download button.

- Launch the setup file once you complete the download.

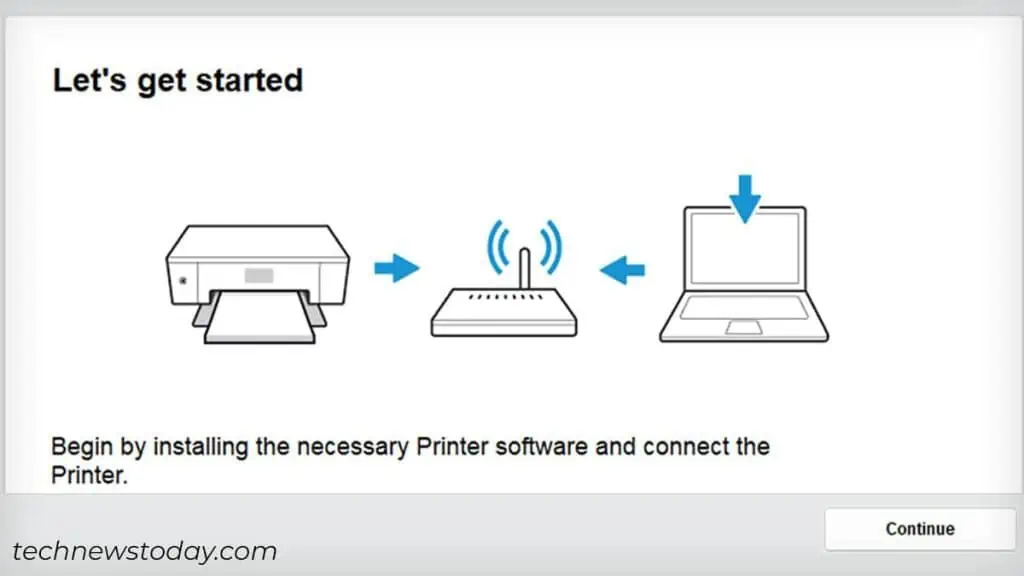
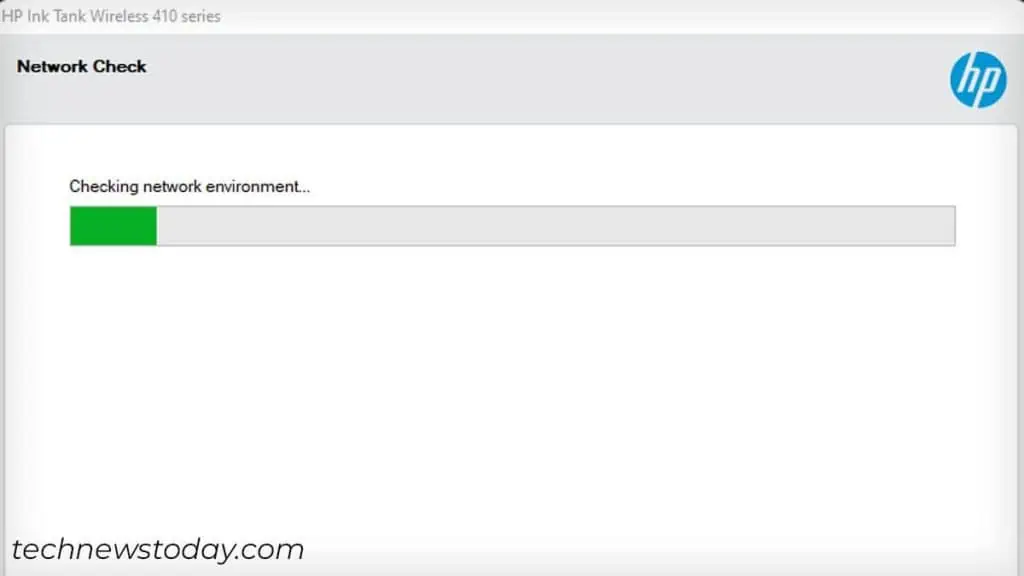
- Follow the on-screen instructions to complete installing the driver.

Setup Printer From Scratch
If nothing seems to work, you can always re-add the printer from scratch. For that, first, you have to remove all the existing printer profiles on your computer. Then, add your HP printer to the correct port.
Here are the details,
- Go to Printers & scanners in Settings and Remove all printers.

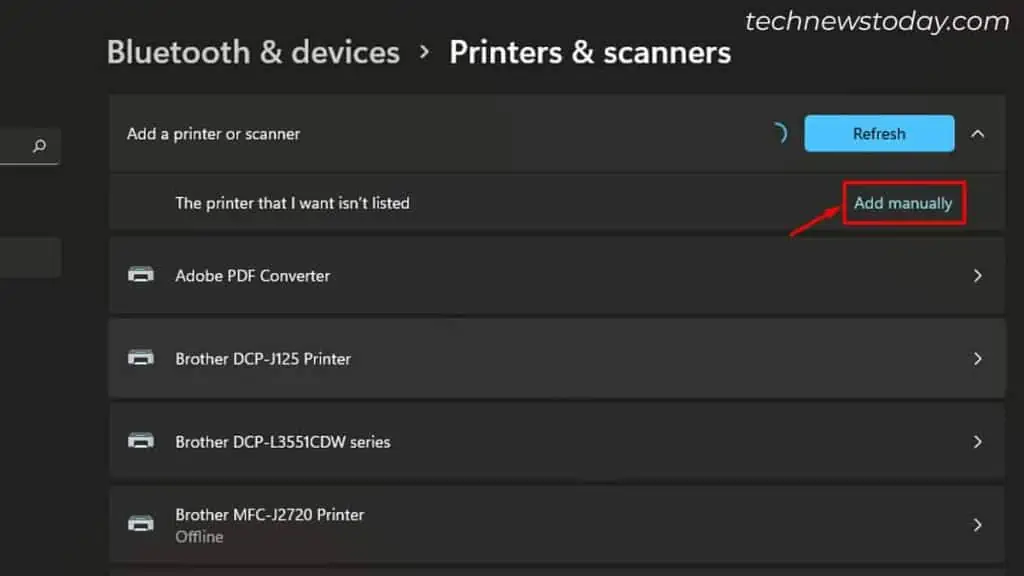
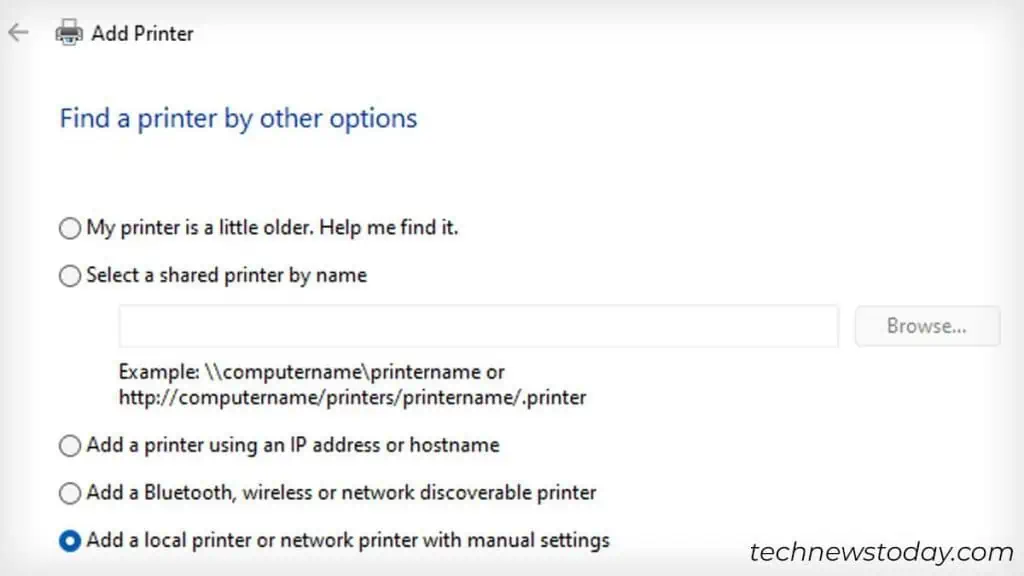
- Proceed with Add device. If your printer does not show up here, click Add manually.

- Choose this option.

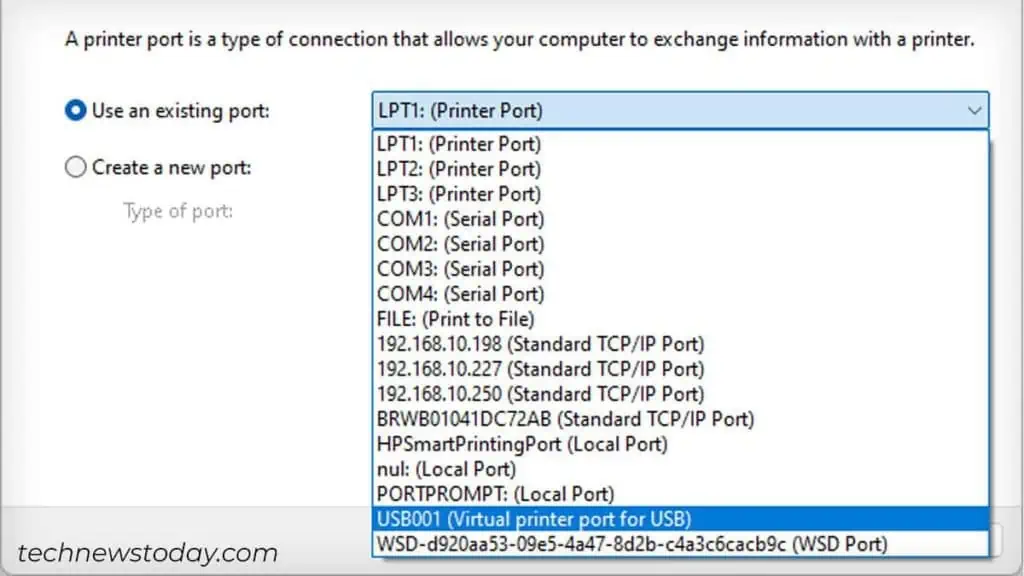
- Select the printer port.

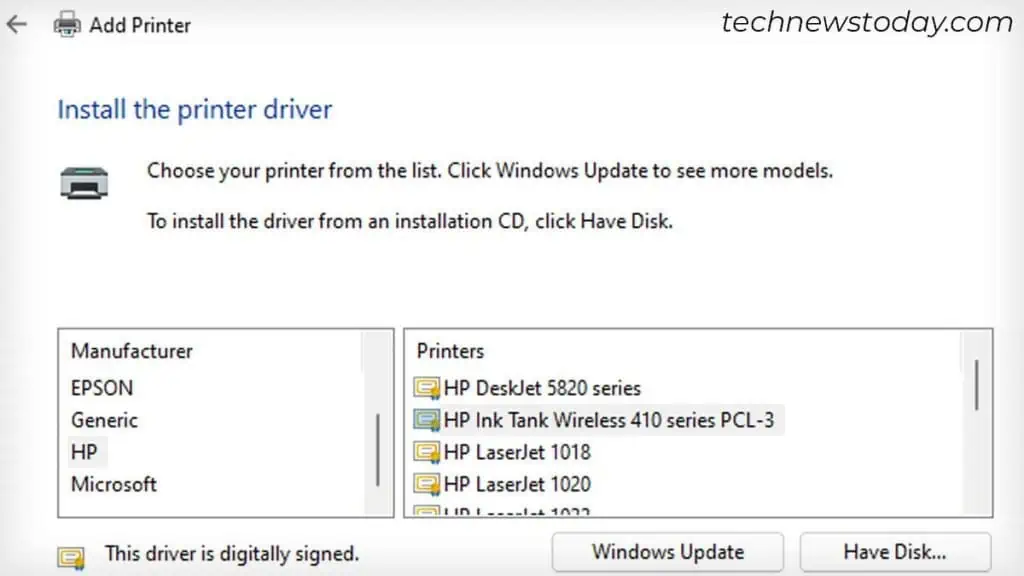
- Choose the driver.

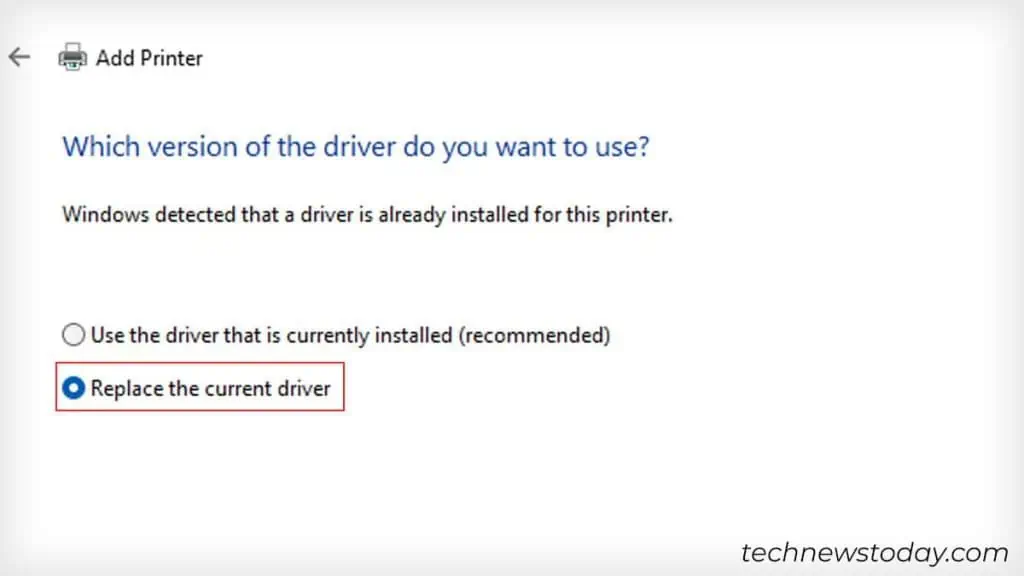
- Pick the second option.

- Once the installation is complete, restart your computer as well as your printer. Try printing. It should work now.
Check for Hardware Defects
Well, I’ve covered everything you need to do when your HP printer won’t print. And I believe you have fixed the issue, too.
At this point, if you are still having problems, it’s likely your printer has a hardware defect. You can try printing from your smartphone to find out if the issue lies with the printer or the computer.
Besides, you may do a photocopy of a document. If the printer neither prints nor copies a document, you can confirm there’s a hardware issue. Please get in touch with your manufacturer for further assistance.

