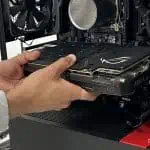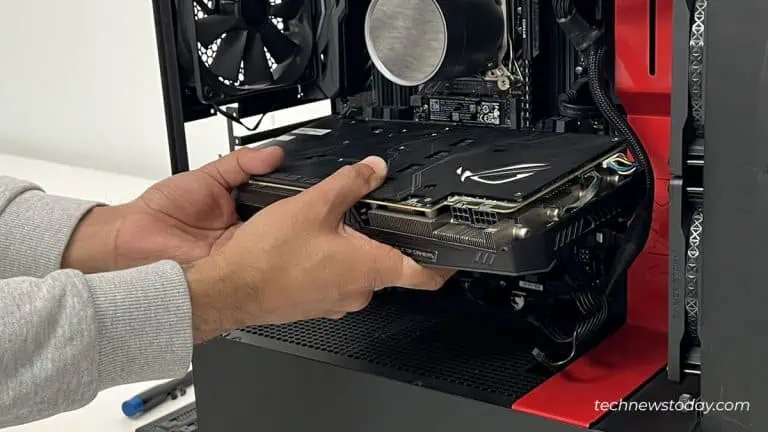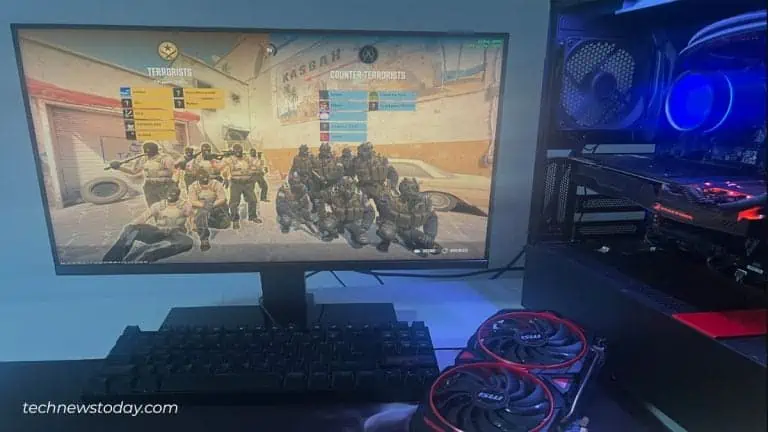
To get the optimal performance from your GPU, try overclocking, update drivers, optimize settings, or try upgrading your hardware. Read More....
To get the optimal performance from your GPU, try overclocking, update drivers, optimize settings, or try upgrading your hardware. Read More....


At Tech News Today, we’re all about demystifying computers and technology for our readers.

Who We Are

Real Experts
How We Test
Years Online
Tech Experts
Helpful Guides
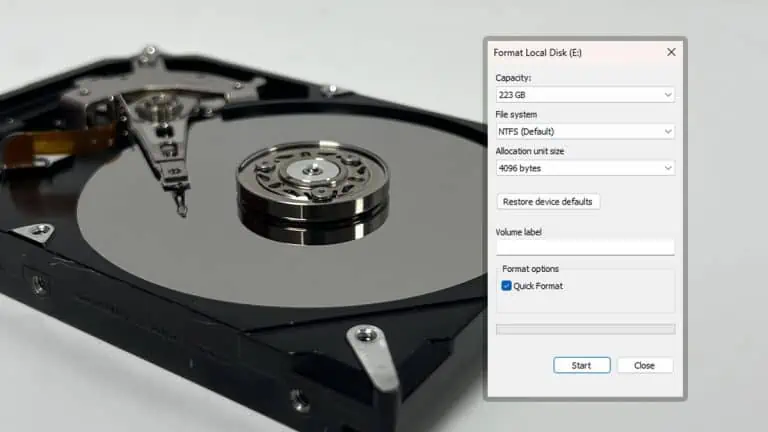
When you format a hard disk, it wipes it clean and sets up a new file system. Check out this article to learn everything in detail.
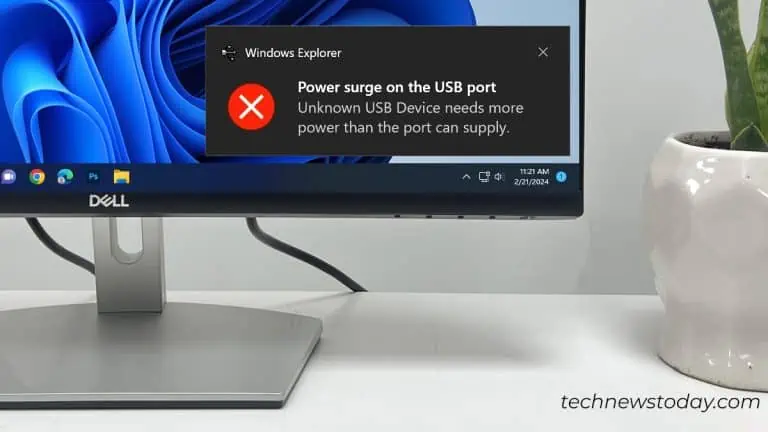
The "power surge on the USB port" error is due to short circuit in the USB port. Also make sure there is no issue with the USB Device.
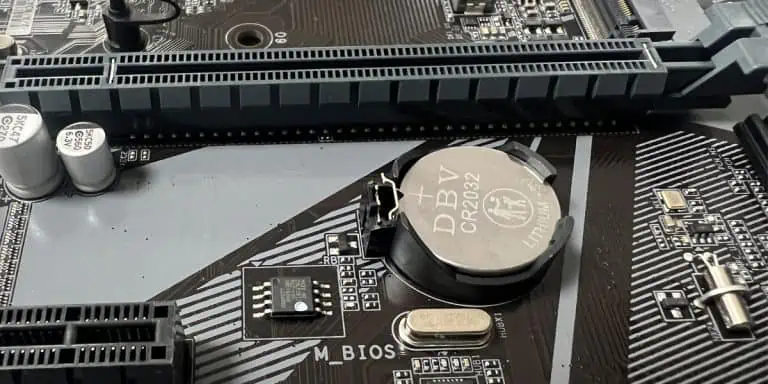
Although the battery can outlive the usability of the system, it does fail over time. Let's discuss few signs that point to a failing CMOS battery....
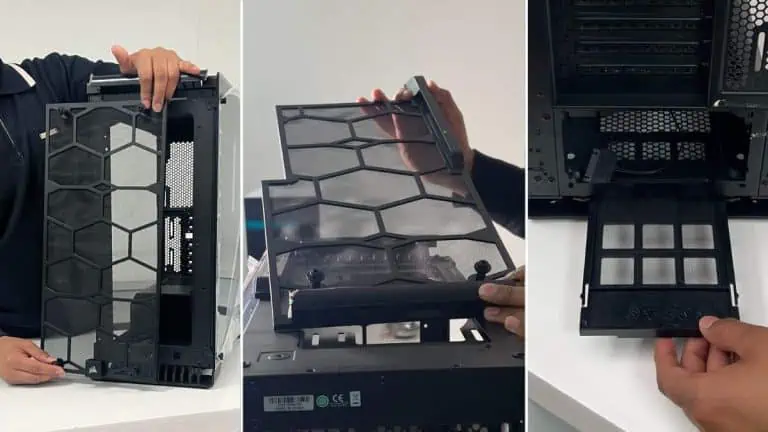
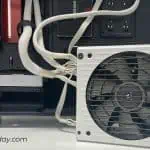
Dust filters collect all the dust and prevent it from entering the case. You should not have any second thoughts while using them. Let me explain why.
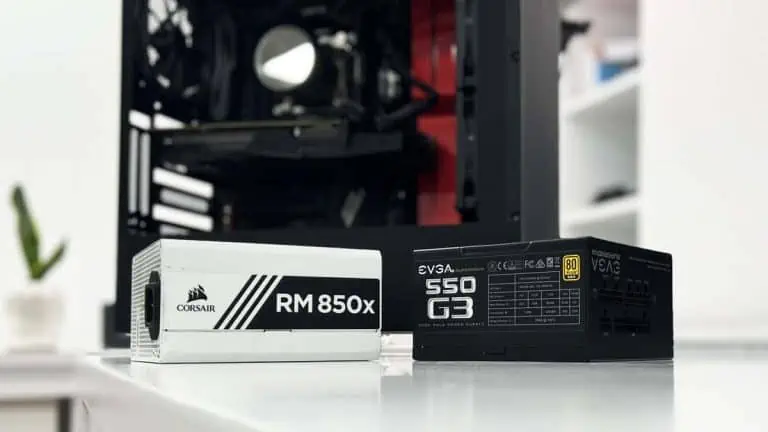
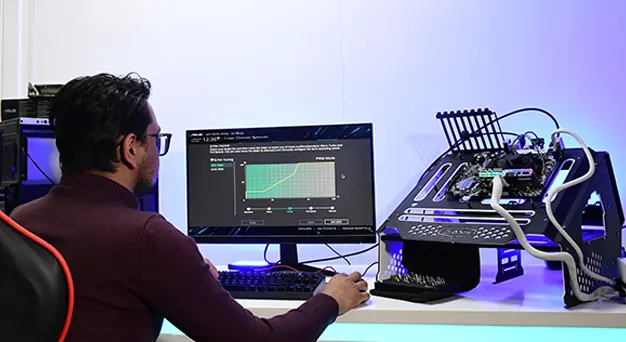
You can easily use online power supply calculator to know how much power your PC needs. Another way is to check GPU manufacturer's website...

Although the average FPS is important, the 1% Lows may be an even more important reading in gaming benchmarks. Here's what it means.
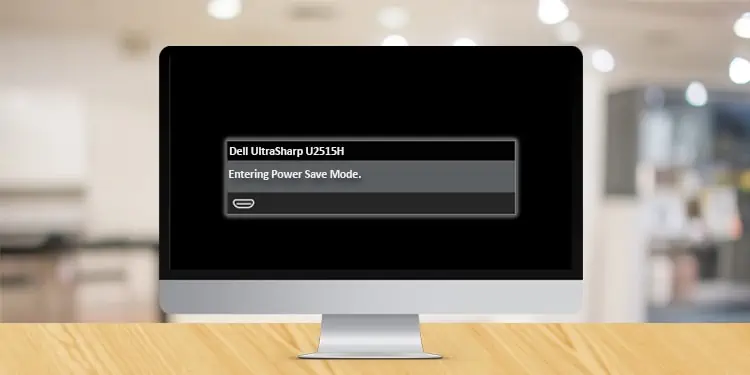
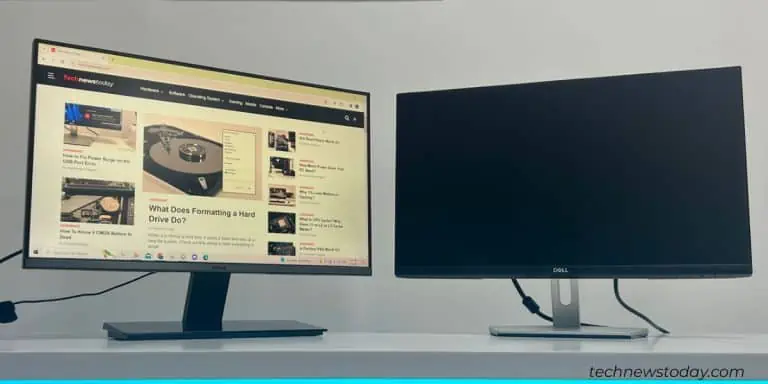
Your monitor features a power-saving mode to save power when the computer is inactive for some time. Generally, when it happens, you see a message “No signal, E
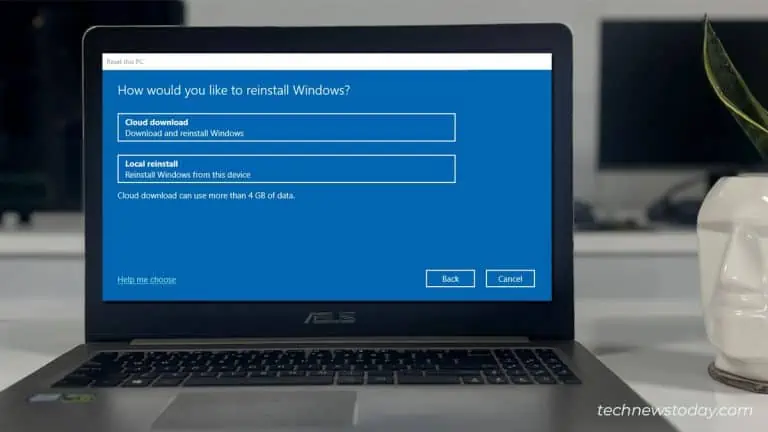
Find out the basic difference between cloud download and local reinstall. Explore several factors and figure out the best option for your need.
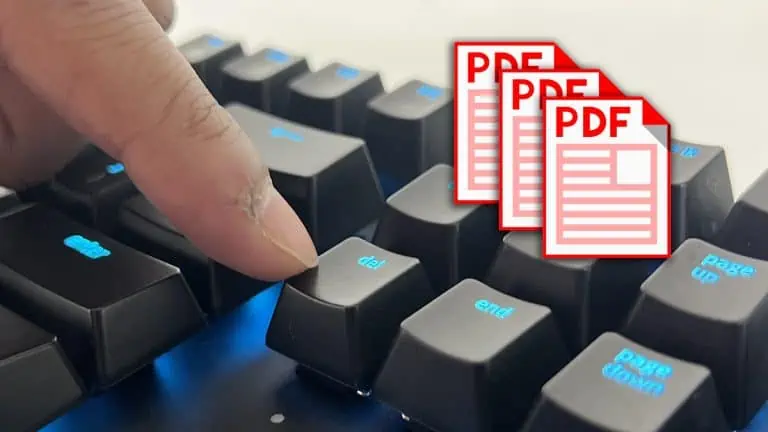
Use online/offline PDF editing utilities to delete pages from your PDF. You can also use Microsoft Print to PDF feature as a workaround. Read More....
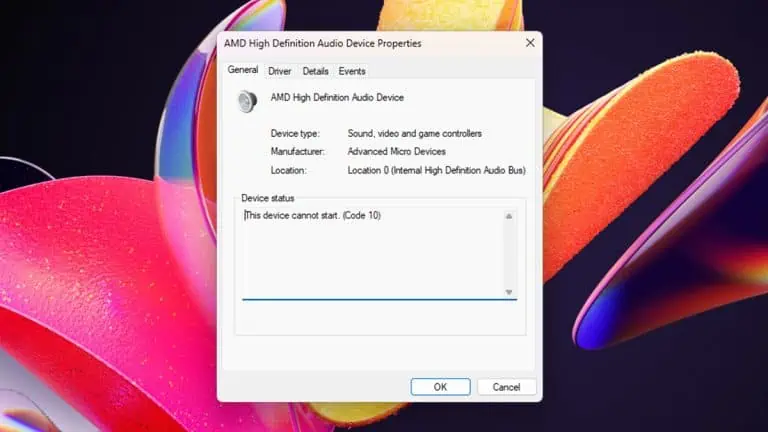
Device cannot start Code 10 is a generic device status error that indicates your system couldn't run the device. Here's how you can fix this issue.

Cleaning the PS5 might seem daunting at first but is pretty easy. With Sony's easy access design, you can take it apart in no time and get on with it.
Excellent article for me, a 30+ year Apple user. Finally, I fully understand differences between USB-A and USB-C because of this excellent article. Thank you! Both the text and images, as well as the charts/ tables are crystal clear.
- Peter B.Thank you for your help for charging a laptop. This solution helped when my computer's manufacturer and two local technicians had only one answer. Your article helped bring my battery back to charging status!
- A Miller.I found yours and other articles about this, but, yours was the easiest to read and understand, and gave the most and clear options. Thank you!
- skaizun.The scanning instructions for the Canon Prixma were very easy to understand and follow. I was beginning to despair regarding scanning, but these instructions worked perfectly. Thanks so much.
- Donald R.This guide was key to me fixing my issue! I accidentally disabled all Microsoft services and had never used a password with my account, so I was SOL. I could not access the terminal directly on my machine. But through a boot drive, I could load my computer’s registry hives, type in my Microsoft password, and log in. Thought I had lost my laptop. Thanks for saving me!
- Preston.Thanks! My Beats suddenly stopped working and no amount of restarting and checking audio and repairing would work but I did find the answer here (the preferences slider was all the way down for some strange reason?). Thank you!
- Nic.Nice job! You helped me get my old program installed, regardless of the vendor’s revoked certificate. The command prompt execution solved it. Thank you very much!
- MJHi Bhishu, thanks for your detailed explanation. I am by no way able with computers, but following the steps was easy and everything worked very well. I had checked half a dozen of posts on the same topic: most are incomplete, wrong, or confusing. Yours was straightforward and effective. Cudos and thanks.
- Alan.Excellent article for me, a 30+ year Apple user. Finally, I fully understand differences between USB-A and USB-C because of this excellent article. Thank you! Both the text and images, as well as the charts/ tables are crystal clear.
- Peter B.Thank you for your help for charging a laptop. This solution helped when my computer's manufacturer and two local technicians had only one answer. Your article helped bring my battery back to charging status!
- A Miller.I found yours and other articles about this, but, yours was the easiest to read and understand, and gave the most and clear options. Thank you!
- skaizun.The scanning instructions for the Canon Prixma were very easy to understand and follow. I was beginning to despair regarding scanning, but these instructions worked perfectly. Thanks so much.
- Donald R.This guide was key to me fixing my issue! I accidentally disabled all Microsoft services and had never used a password with my account, so I was SOL. I could not access the terminal directly on my machine. But through a boot drive, I could load my computer’s registry hives, type in my Microsoft password, and log in. Thought I had lost my laptop. Thanks for saving me!
- Preston.Thanks! My Beats suddenly stopped working and no amount of restarting and checking audio and repairing would work but I did find the answer here (the preferences slider was all the way down for some strange reason?). Thank you!
- Nic.Nice job! You helped me get my old program installed, regardless of the vendor’s revoked certificate. The command prompt execution solved it. Thank you very much!
- MJHi Bhishu, thanks for your detailed explanation. I am by no way able with computers, but following the steps was easy and everything worked very well. I had checked half a dozen of posts on the same topic: most are incomplete, wrong, or confusing. Yours was straightforward and effective. Cudos and thanks.
- Alan.