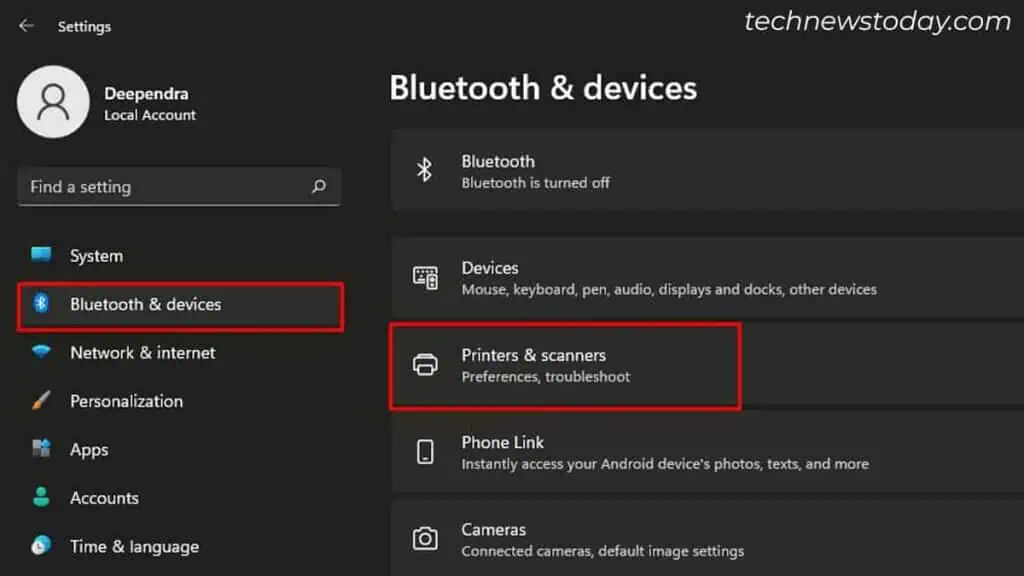
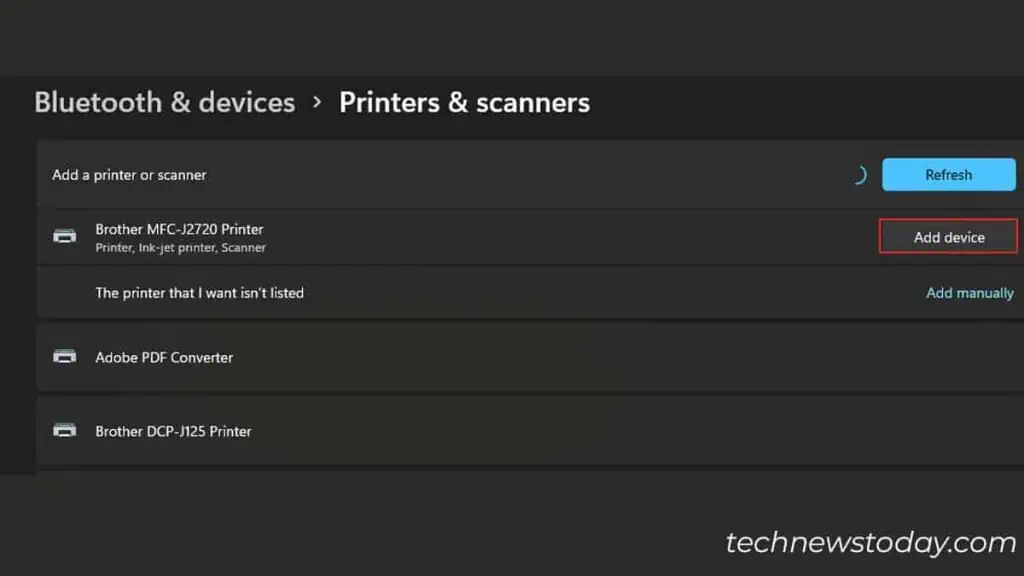
Brother offers a variety of printer models with different functions and features. However, the process of connecting them to your PC is almost similar.
You can connect a Brother printer to your PC through wired or wireless methods. For a wired connection, you’ll need a USB or an ethernet cable. Besides, if you want to get rid of the clumsy wires, you can set up the connection using Wi-Fi and WPS PIN.
Connect Using USB Cable
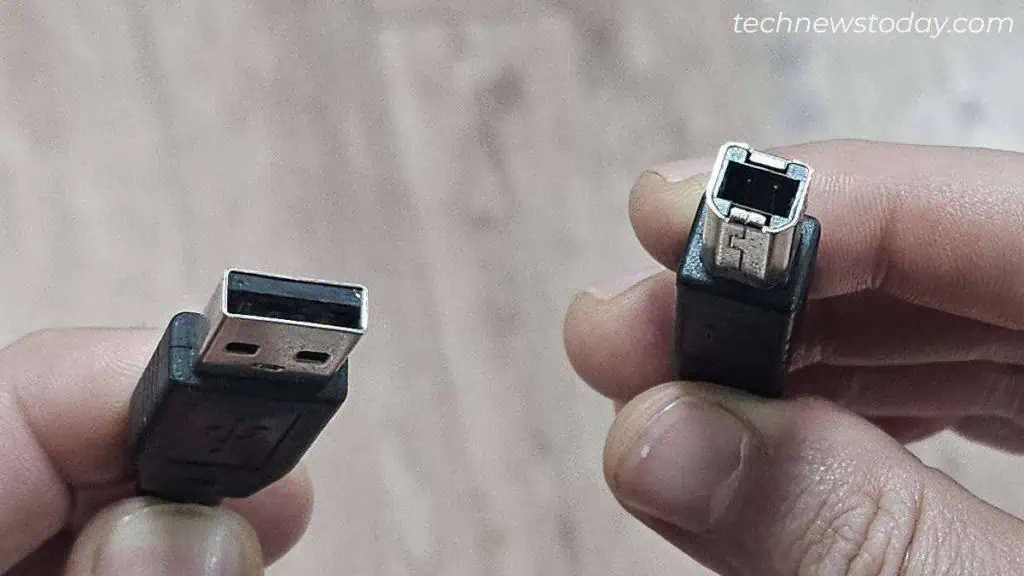
The first method is to connect a printer using a USB A-B cable. This type of USB cable has one rectangular end (A side) and another square end (B side). You should insert the rectangular end of the cable into the USB port on the computer and the square end into the USB port of the printer.

Let’s see how to carry out the USB cable connection process. Here, we are using Brother MFC J2720 printer for demonstration purposes.
- Press the Power button on the printer to turn it off.
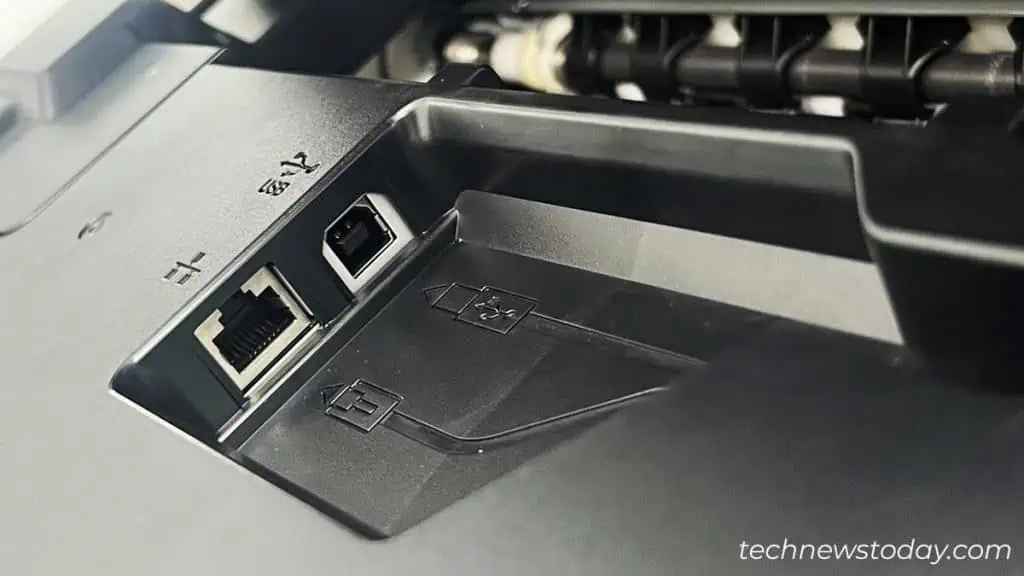
- Now connect the B side of the USB cable to the USB port of the printer. It is generally located in the back panel of the printer. But in some models, you may need to lift the access door to locate the USB port.
- Then connect the A side of the USB cable to a USB port on your PC.
- Power on the printer.
Connect Using Wireless Methods
You can also opt to use wireless methods like Wi-Fi and WPS to connect the Brother printer from your PC. These methods can be useful if the printer does not have easy physical access. Say, you have a printer and PC in different rooms. You don’t need to purchase an extra USB cable and bother about a messy connection.
Using Wi-Fi
Using Wi-Fi to connect your Brother printer allows all other devices on the same Wi-Fi network to access it. Simply get the Wi-Fi network credentials and establish the connection.
- Power on the printer.
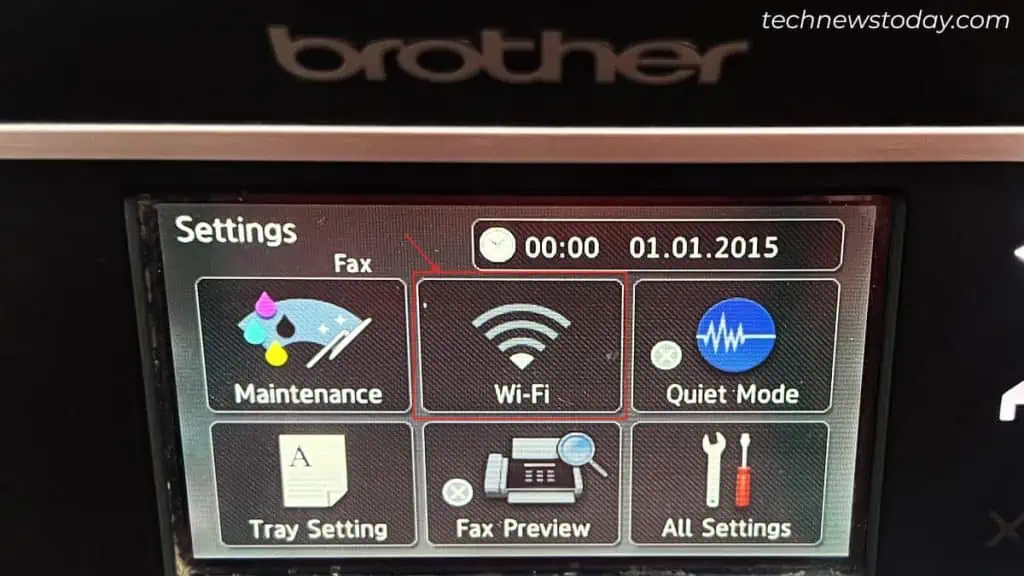
- Tap the Settings icon on the home screen.
- Tap Wi-Fi.
- Select Setup Wizard from the list of options.
- Choose the network SSID you want to connect to and click OK.
- Enter the network’s security key and click OK to connect the printer. Please be precise while entering the password.
Note: Please note that the printer’s IP can change after restarting the printer or router. It can cause printers to run into issues like the printer offline error and printer not found. Therefore, it would be helpful if you assign a static IP to your Brother printer from the router’s settings.
Using WPS PIN
Next, you can also use WPS PIN to create a connection. However, this method requires you to have administrator access to the network router that you are trying to connect to. First, get the WPS PIN from the printer’s control panel and enter it in the router’s configuration page.
- Turn on your printer and open Settings.
- Choose the Wi-Fi icon.
- Select WPS w/ PIN Code option. Your printer will display a WPS PIN after that.
- Note the PIN and enter it in the router’s WPS settings page. The steps to access the WPS configuration page on your router may slightly vary depending on the manufacturer. Please consult the router’s user manual for the steps.
Connect Using Ethernet Cable
Ethernet cable provides a stable connection that you don’t get to see in Wi-Fi. While you are using shared printers over Wi-Fi, they can sometimes refuse to print and throw printing errors.
Furthermore, if your PC does not have a vacant USB port for connecting the printer, you may be using a USB hub. However, the USB hub does not create a networked connection. In such cases, LAN connection comes into handy. It also offers printer sharing within the same Wi-Fi network.
- Get an Ethernet cable (LAN Cable) of suitable length.
- Now connect one end of the cable to RJ-45 port of the printer. The RJ-45 port location can slightly differ depending upon the printer models. Some of the printers have it on the back panel while some of them have it under the access door.
- Next, connect the other end to the RJ-45 port of the router.
- You are all ready to use the printer then.
Finalizing Installation
Now that you have successfully connected the printer, you should next install the compatible printer drivers for your Brother printer and finalize the installation.
Most of the Brother printers are plug-and-play, meaning you can directly start printing once you connect the printer to your PC. However, if you are not able to do so, you can download the compatible drivers from the official driver download page of Brother, install them and then start using the printer.
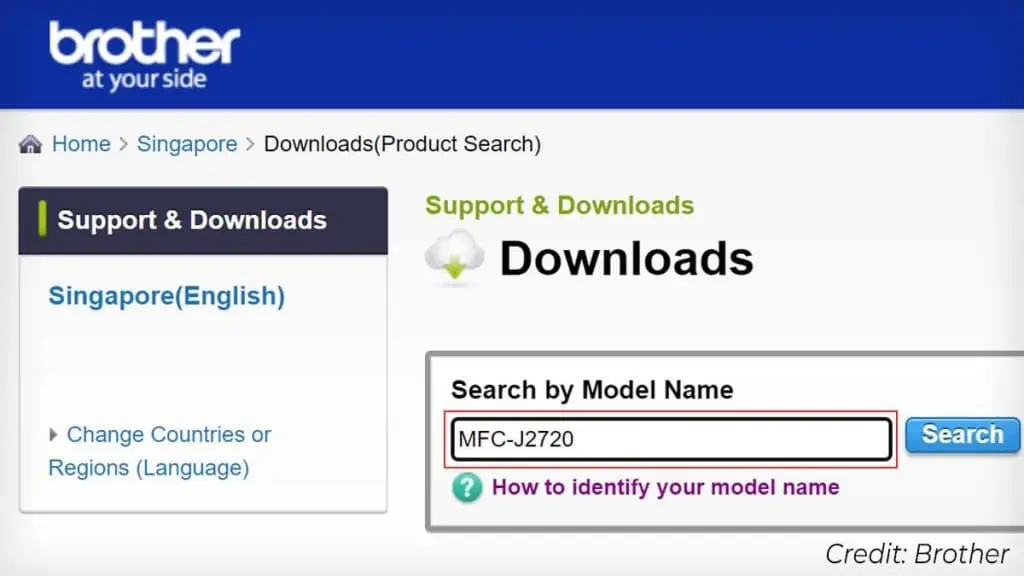
- Go to Brother’s official website and search for your printer model.
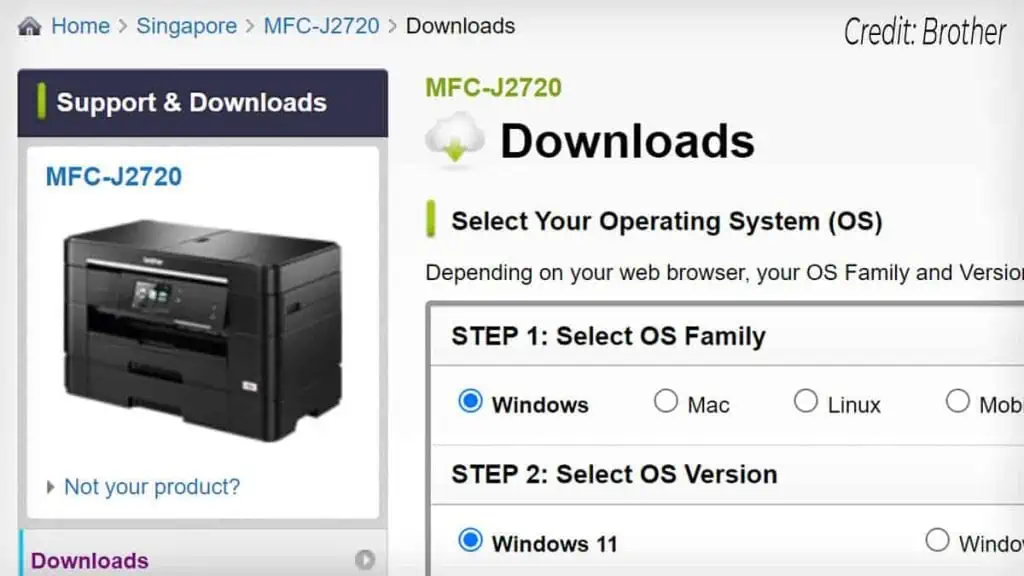
- Select your PC OS version and click OK.
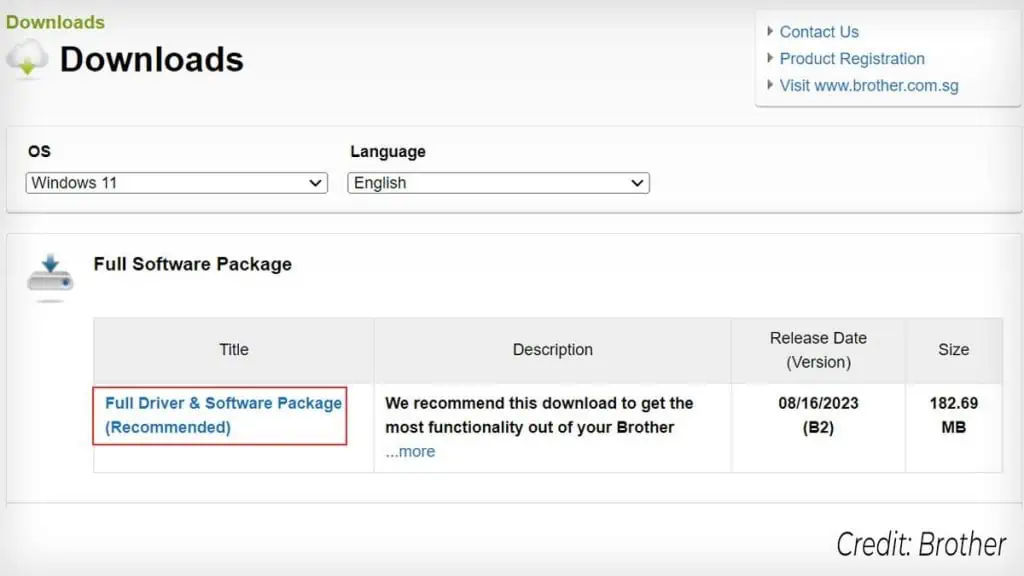
- Click Full Driver & Software Package (Recommended).
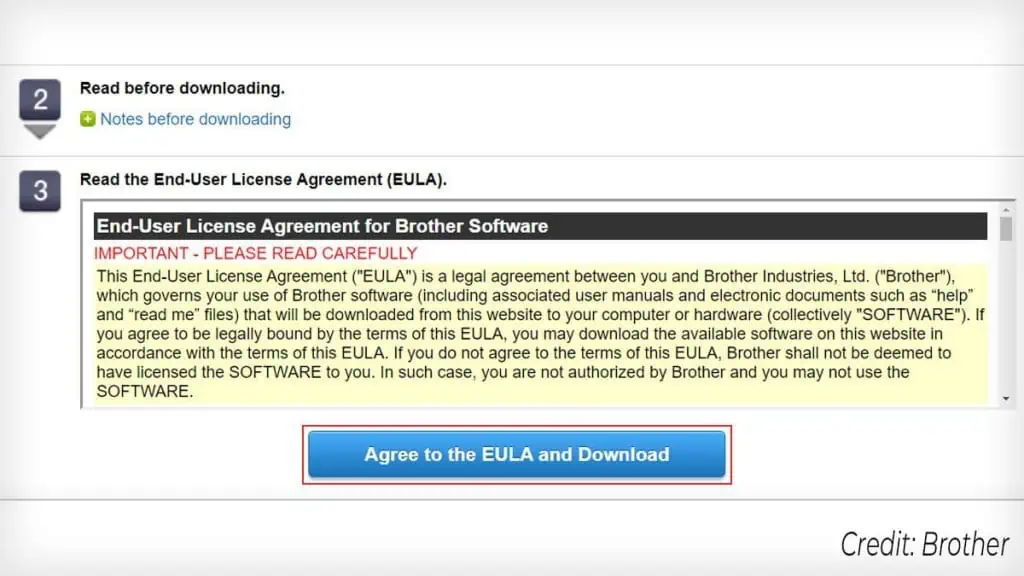
- Agree to the license agreement and start the download.
- Now launch the installer.
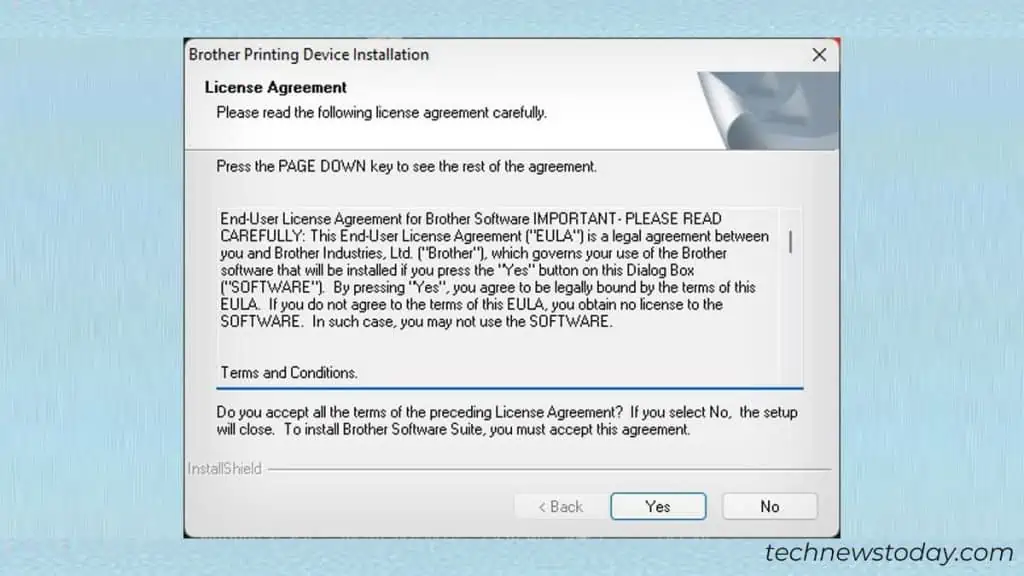
- Click Yes in the license agreement window.
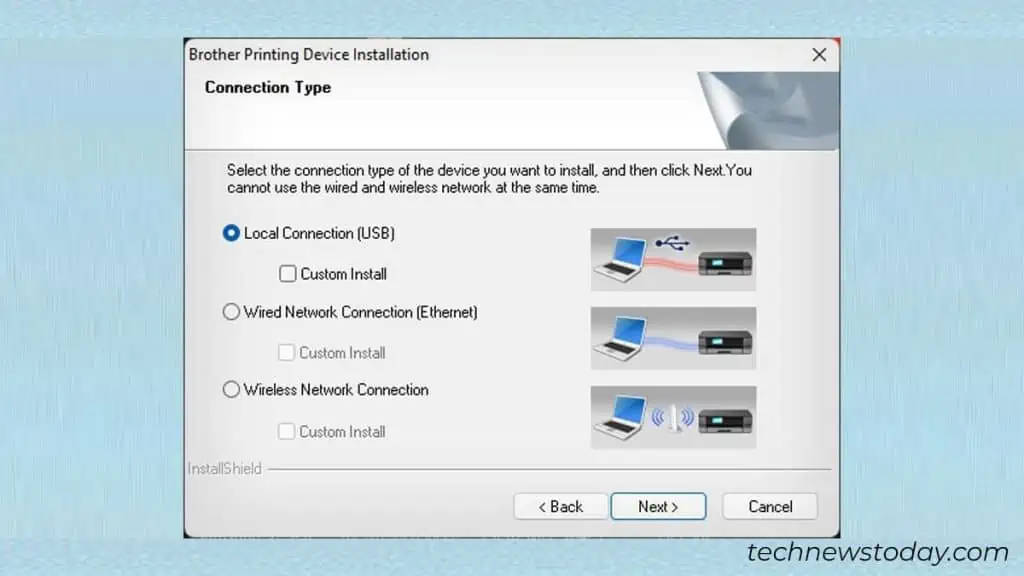
- Choose the connection type and click Next. It will start scanning for printers and list them.
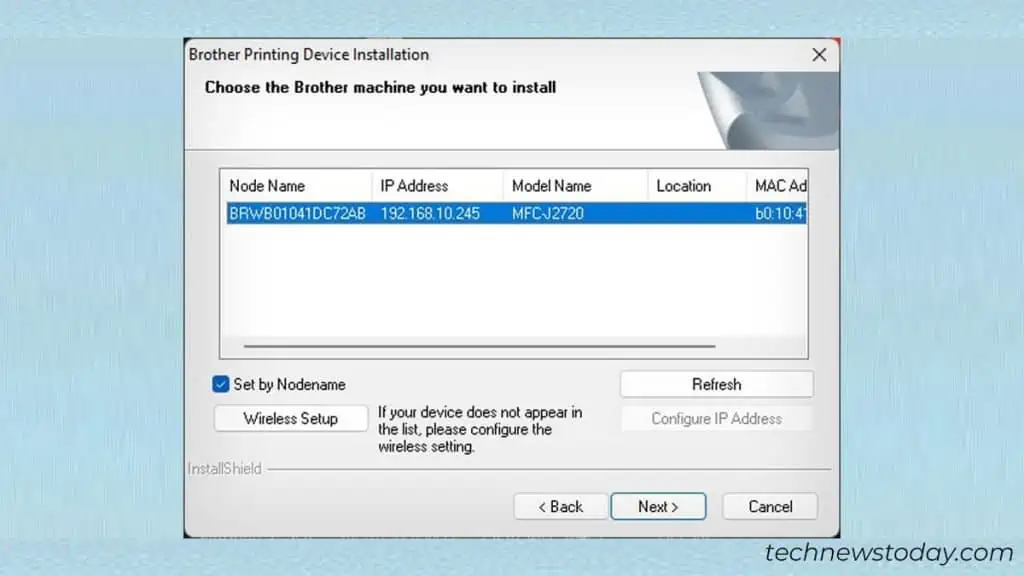
- Choose your printer profile and click Next.
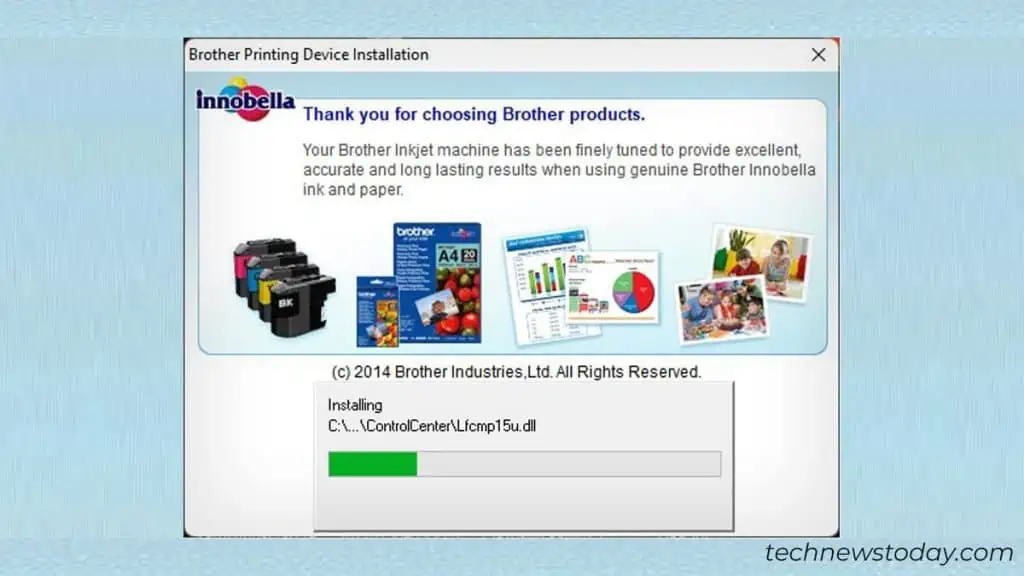
- It will now start the installation process.
- After completing the installation process, you further need to check the printer status if it is print ready.
- Hit Windows + R on your keyboard. Type
control
and press Enter. - Navigate to Hardware and Sound > Devices and Printers and go under the Printers section.
- Choose the Brother printer and check its status. If you see any error message, do the needful to resolve the error. Else, you can start to print your documents right away.